
A week in the life of a mountain photographer, from the first idea to the perfect shot, with PeakVisor.
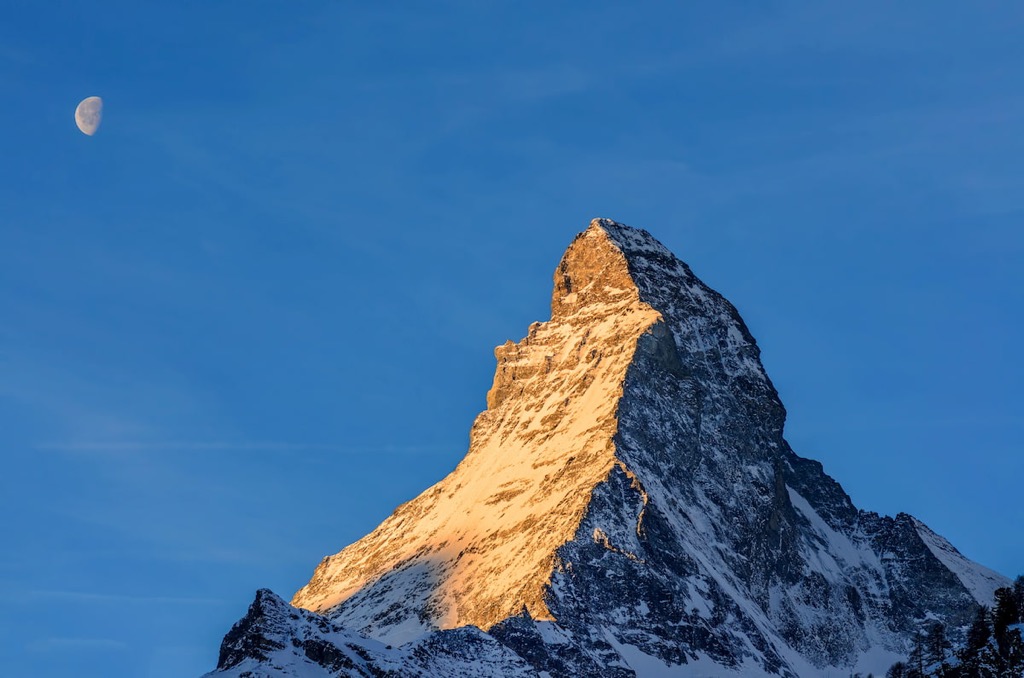
You look at this photo and think: what luck, being right there at exactly that moment. In reality, luck has very little to do with it. The Moon in just the right spot, the face glowing in warm light, every ridge crisp and clear: all of it comes from a few evenings in front of the computer and an alarm set very, very early.
Let’s retrace that journey together. You have an idea, a few days, and a peak on your mind. Here’s how you get to the shot.
Tuesday Evening: The Idea
It all starts with a simple question: where does the mountain look its best from? You open PeakVisor on your computer and circle the peak in 3D, as if you were flying around it. From one side it’s a shapeless wall; from another it becomes the pyramid you’ve been picturing. You spot a ridge that could lead the eye, a small lake that would make a perfect foreground.
With a Flyover, you glide along the trail to the top and mark the places where the view opens up. Everything you save on the website is already synced to the app.
Wednesday: Chasing the Light
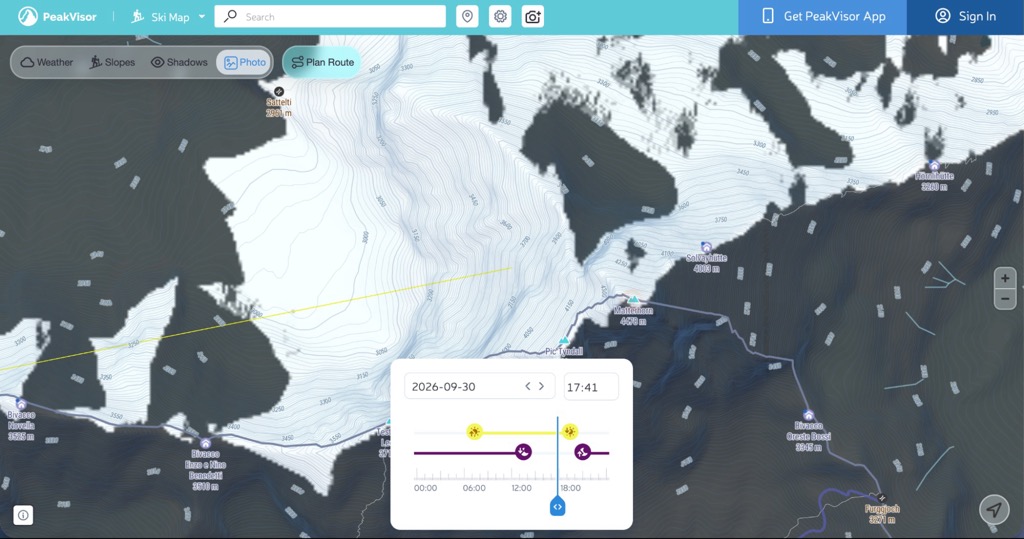
Now you know where to go. The next question is when. An east-facing wall lights up at sunrise and is already dark by sunset; in winter the Sun rises further south and everything changes. In PeakVisor, you follow the Sun’s path over the peak and scroll through the dates until the light falls just the way you want it: low, raking, carving out every rib of rock. Learn how to do it in our article about mountain light.
Then you check the Moon: moonrise and moonset times, direction, phase. And you discover that in a few days it will rise right next to the summit.
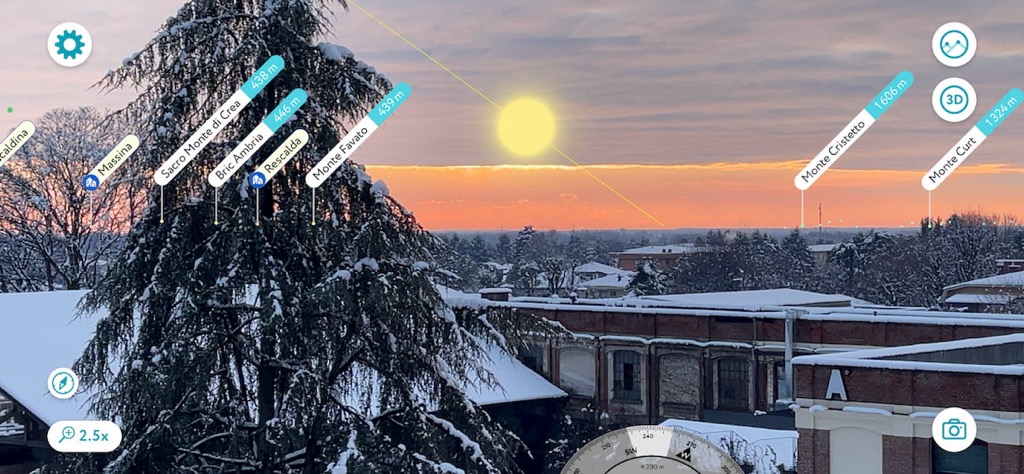
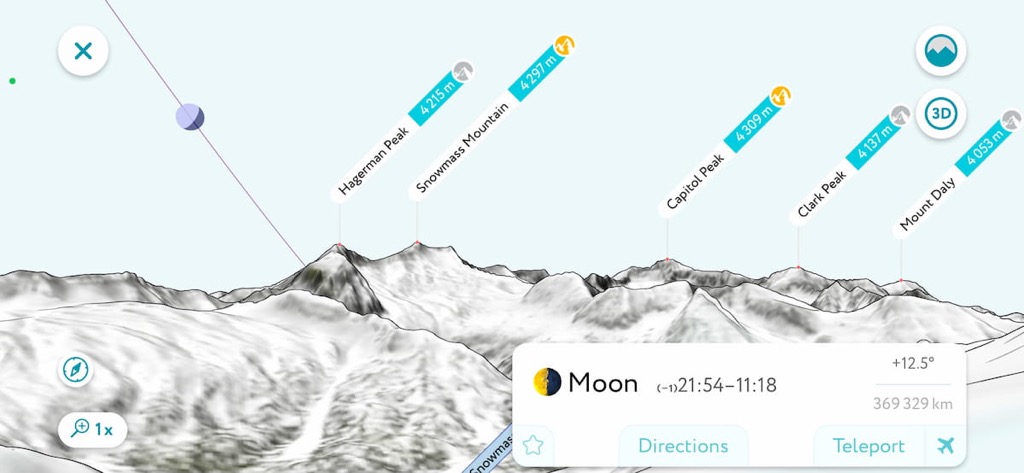
Pro tip The day before the full Moon, the Moon rises shortly before sunset. The sky is still bright and the mountain is still lit, so you can expose both the Moon and the landscape well in a single frame.
Thursday: The Shadow Trap
In the mountains, knowing where the Sun is isn’t enough: you also need to know what might hide it. Your wall could slip into the shadow of a neighboring peak long before sunset. Turn on the Shadows layer and, with Time Travel, move the clock forward minute by minute, watching the shadows slide across the terrain. Now you know exactly how long the wall will stay in the light, without having to find out the hard way, in the cold, on location.
Friday: Frame It Before You Go
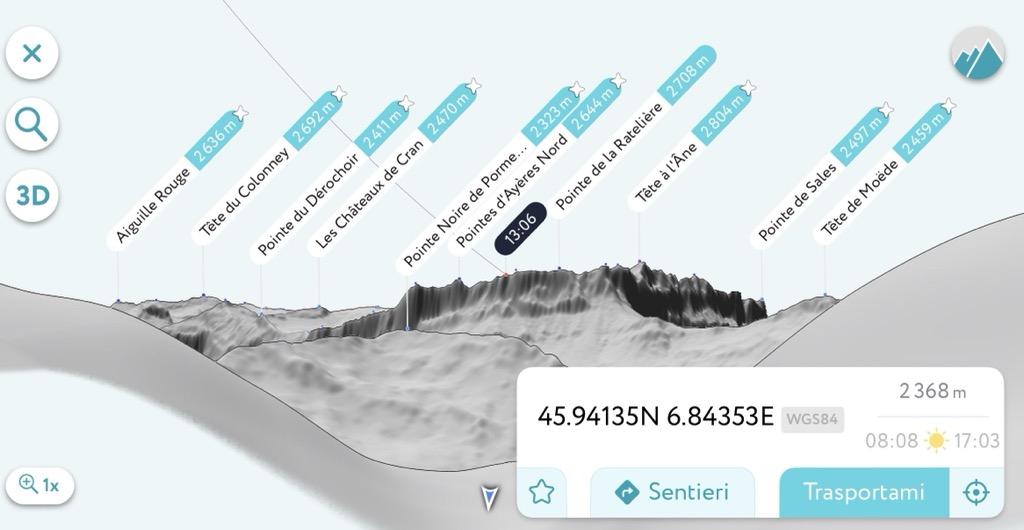
You Teleport to the spot you picked and switch on Virtual Mode: in front of you is the 3D panorama, with every peak labeled, just as you’ll see it on Saturday. You zoom in and two things become clear right away: the nearby summit won’t block your subject, and you’ll need your telephoto lens. From far away, layers compress and the mountain looks huge, even next to the Moon.
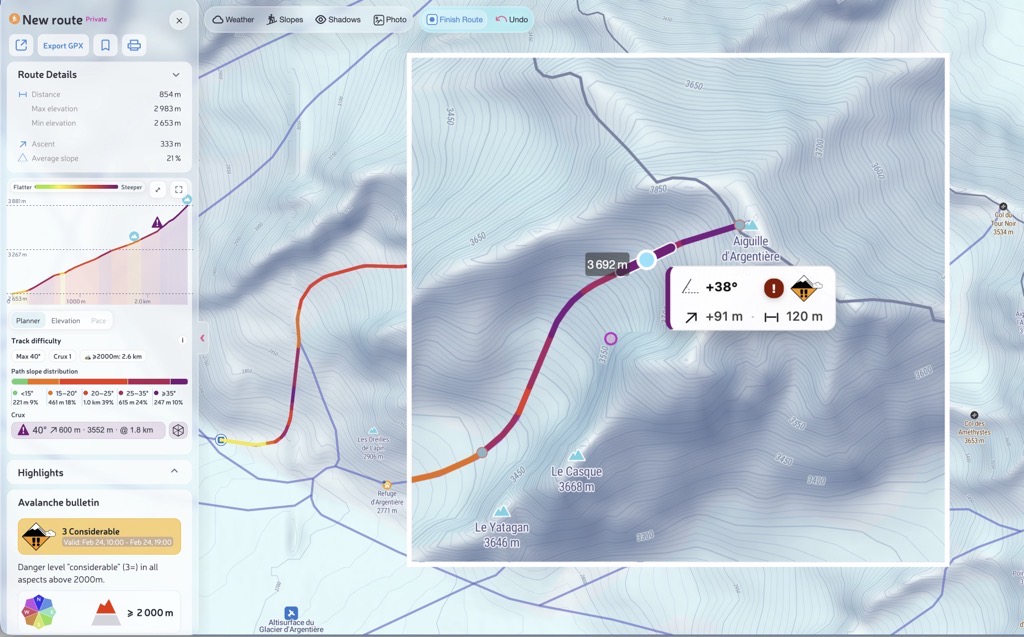
The only thing left is to figure out when to leave. With the Route Planner, you draw the trail and get distance, elevation gain and hiking time. Then you count backwards: sunrise at 6:30, an hour and a half of climbing, half an hour to set up your gear and fifteen minutes to spare. Alarm at 3:45, out the door at 4:15.
Pro tip Download your 3D maps for offline use (a PeakVisor PRO feature) the night before, while you still have Wi-Fi. Up there, you often won’t have a signal, and in the dark, by headlamp, every trail junction looks the same.
Saturday: The Moment
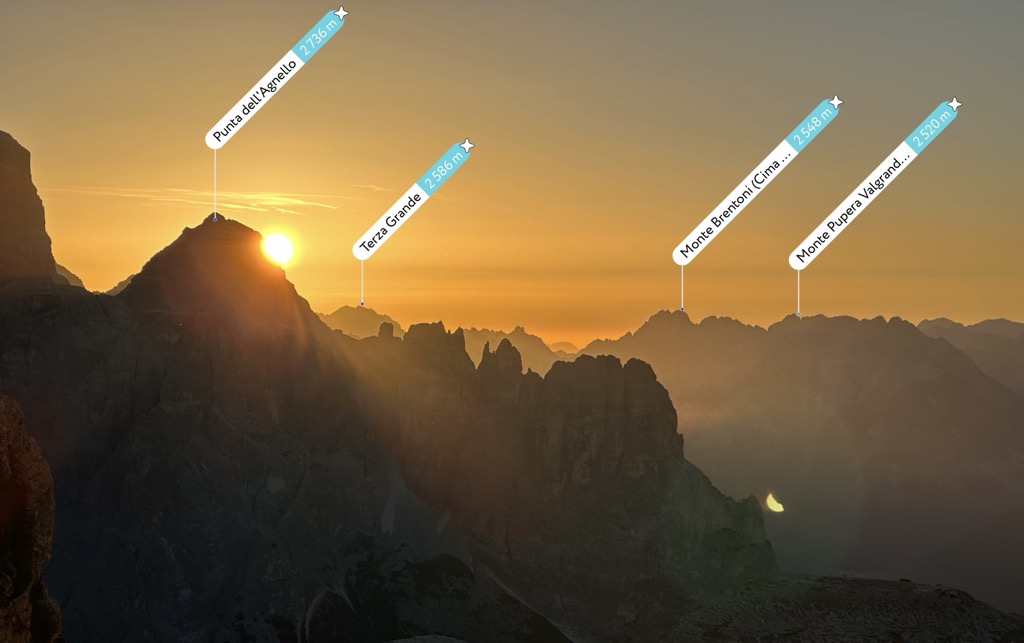
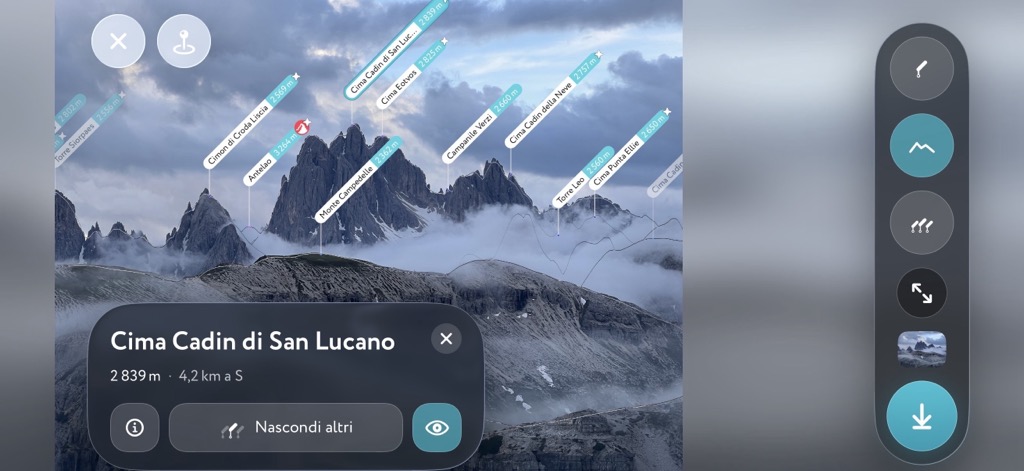
You arrive as the sky begins to brighten. No last-minute searching: you already know where the tripod goes. While you wait, you point your phone at the horizon and AR names every summit around you. Then the Moon appears, exactly where it was supposed to, and the wall catches fire.
Pro tip Don’t pack up your camera right after sunset, or before sunrise: for a few minutes the peaks can turn pink with alpenglow while the Sun is already below the horizon.
Sunday: Back Home with Your Photos
You download your photos and come across an old one from a few years back, with a row of peaks you never knew the names of. You upload it to PeakVisor: comparing it with the 3D model helps you identify the summits, and the captions for your blog and social media practically write themselves. Finally, you save the spot to your account, so you can come back in another season or share it with a photographer friend as a GPX file (PRO features).
Your Next Shot
The right place, the right light, the right moment: none of them happen by chance, but all three can be planned. Pick a peak you love, check when the next full Moon rises, and start planning.
Your Pre-Trip Checklist
Print it, screenshot it, or just run through it the night before. If you can tick every box, you’re ready:
- The right spot. You’ve circled the peak in 3D and know where it looks its best.
- The light. You know where the Sun will come from and when the wall will light up.
- The shadows. You’ve used Time Travel to make sure no nearby peak will steal your light.
- The Moon. You know its phase, direction and timing: it rises right where you want it, or it’s not there at all (a perfect night for stars).
- The framing. You’ve had a look in Virtual Mode and know which lens to bring.
- The alarm. You’ve counted backwards and set your alarm (yes, the backup one too).
- Offline maps. Downloaded last night on your home Wi-Fi.
- Your backpack. Headlamp, warm layer, charged batteries, empty memory cards, and a tasty snack for while you wait for the light.
- The weather. One last look at the forecast: if clouds are covering everything, the mountain will still be there next weekend.
Download PeakVisor and start planning your perfect shot.