
You Did the Hike. Sharing It Shouldn't Be the Hard Part.
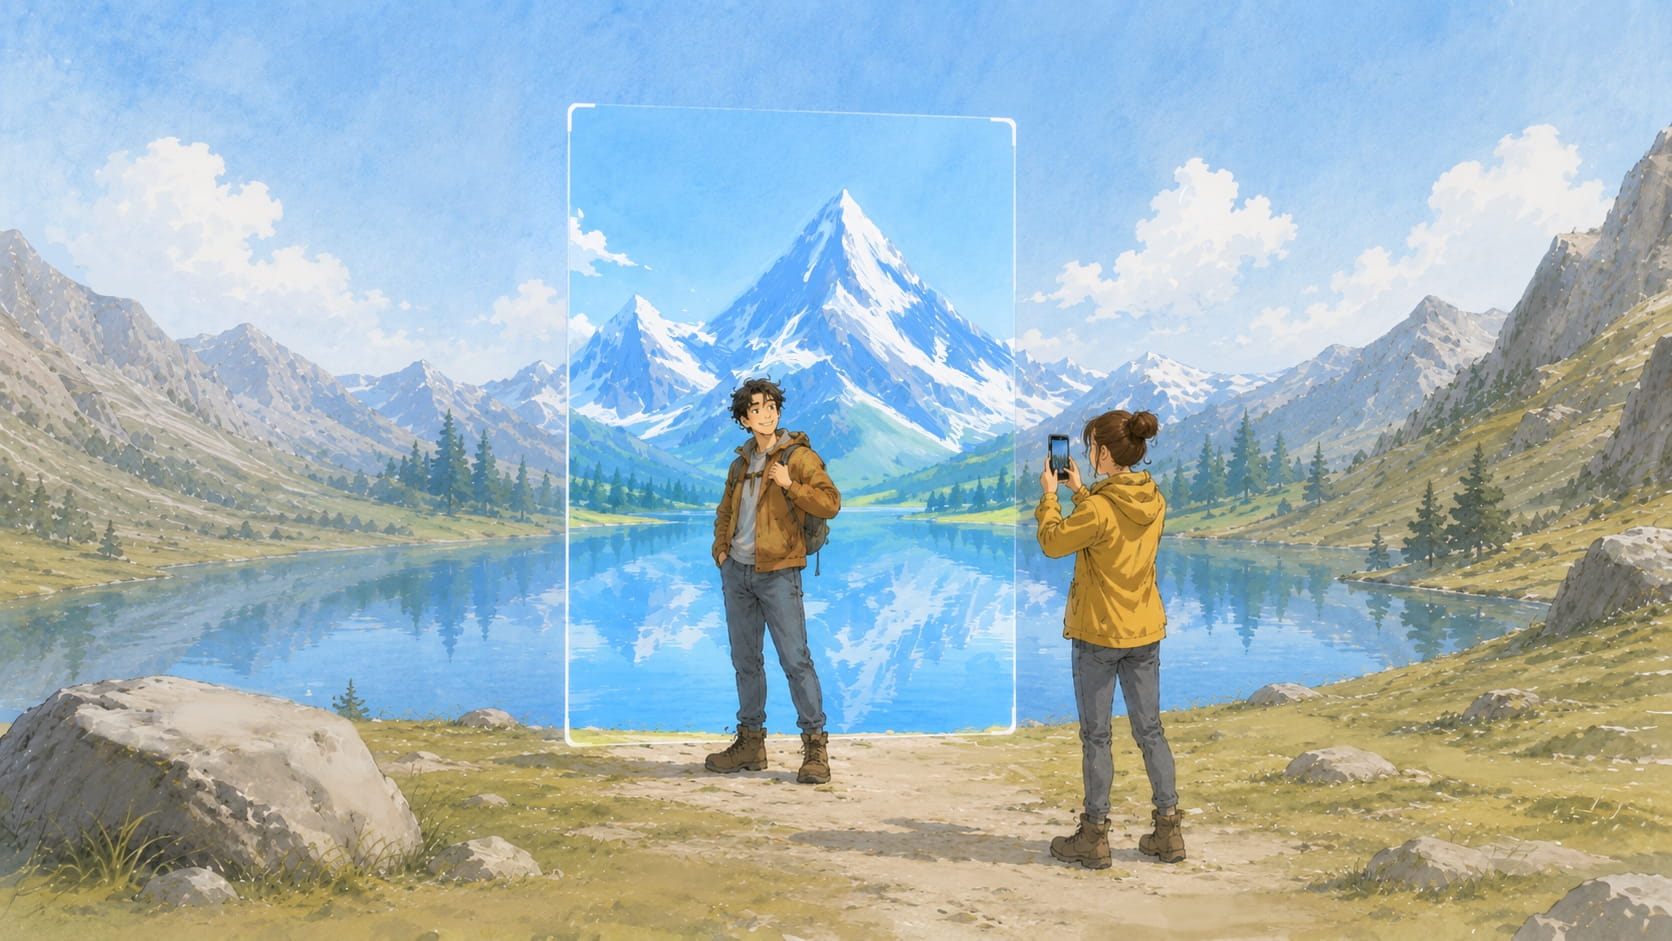
There's a familiar problem at the end of every good hike. You've covered 1,400 meters of switchbacks, the view from the top was worth every one of them, and now you want to show somebody. So you open your phone and find a blurry map screenshot, a stats list that only means something to you, and one photo of your own boots. Turning all of that into something presentable takes an image editor, a template, and more patience than most of us have left after a full day on the trail.
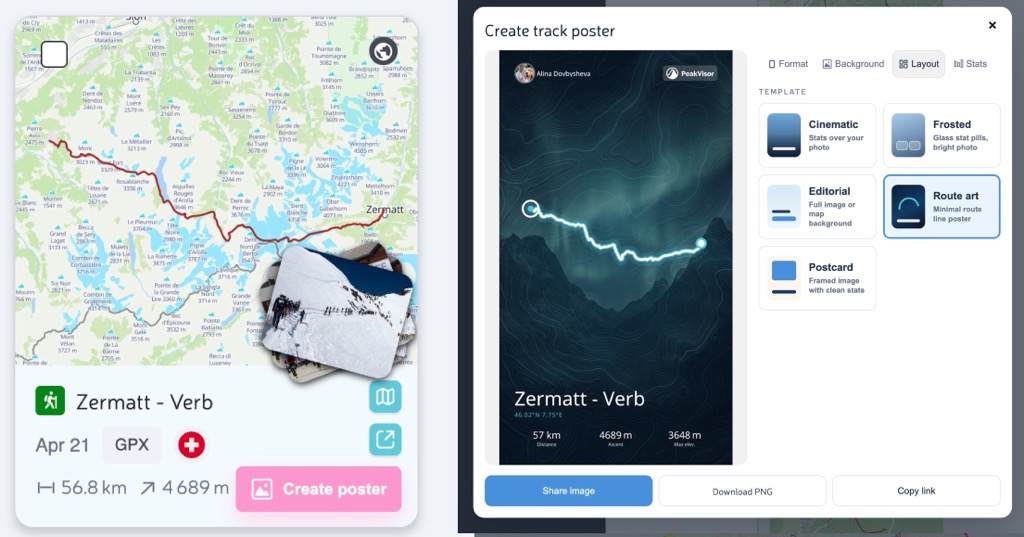
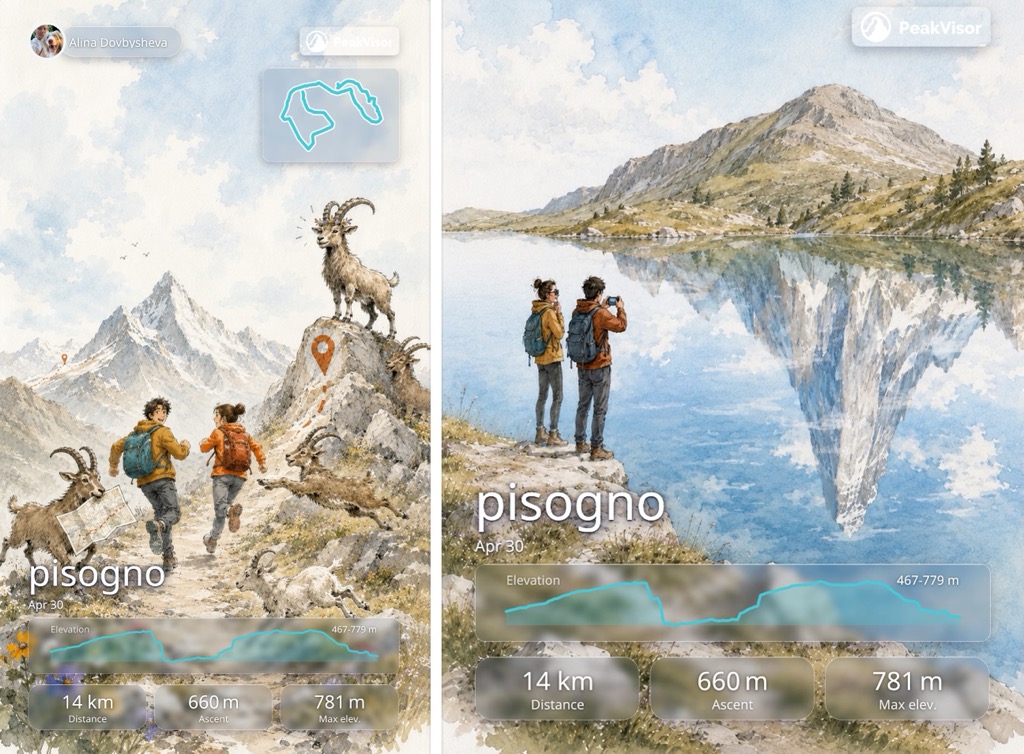
Track Poster is our answer to that. It's a one-tap tool that turns any of your recorded tracks into a designed poster image — a proper layout with your route, your stats, and a background of your choosing, rendered as a high-resolution PNG. We're talking Instagram stories, the group chat, or a frame on the wall. The whole process takes about thirty seconds.
What Track Poster Does
Every poster is rendered on our servers, so the result looks the same whether you're on a five-year-old phone or a brand-new laptop. There's nothing to install and no image editor involved: you pick a format, a background, a layout, and the stats you want to show, we render the image, and you download or share it.
It also works straight from a plain link — paste a track URL and PeakVisor will generate a poster for it. Most people will want the constructor, though, because that's where all the options live. Let's walk through it.
How to Make One on the Website
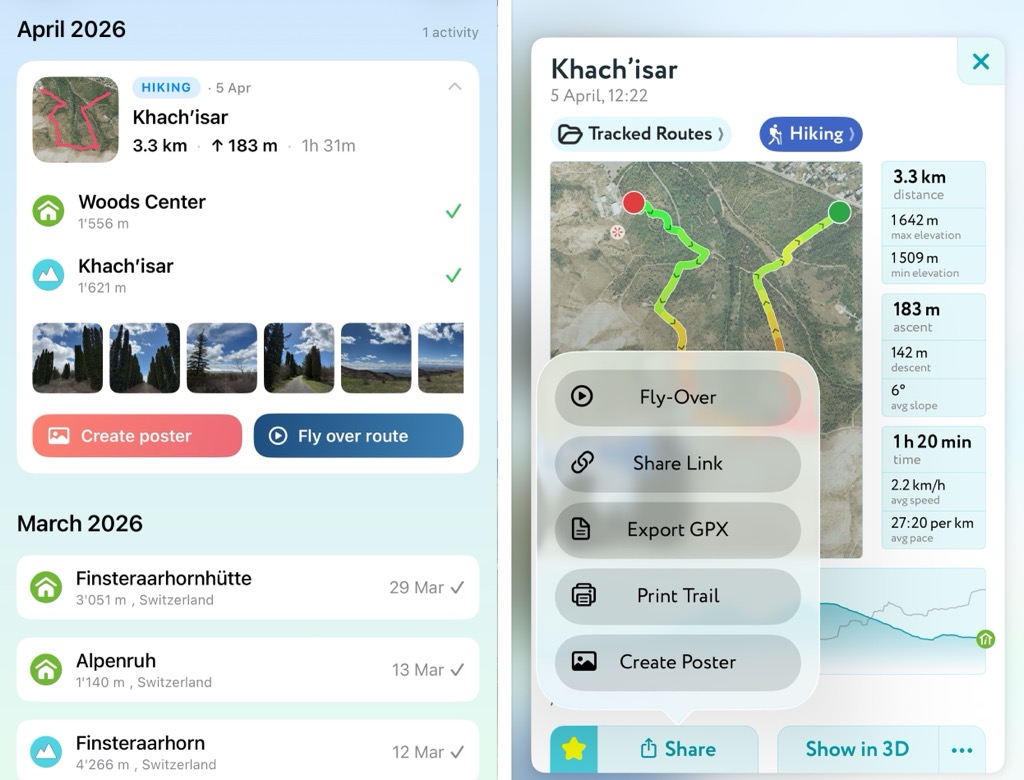
First, find the poster button. It shows up in a few places:
- On your trails — each of your track cards has a poster button.
- On your public profile page, on your own track cards. Only your own — you can't make posters of someone else's hike.
- On the Hiking Map or the ski-touring / ski-resort maps — open one of your tracks, and its popup has a poster button too.
Click it, and the constructor opens with a live preview that starts rendering immediately. The default combination is Story + Frosted, which is a flattering starting point for most photos. From there, you have four tabs to work through.
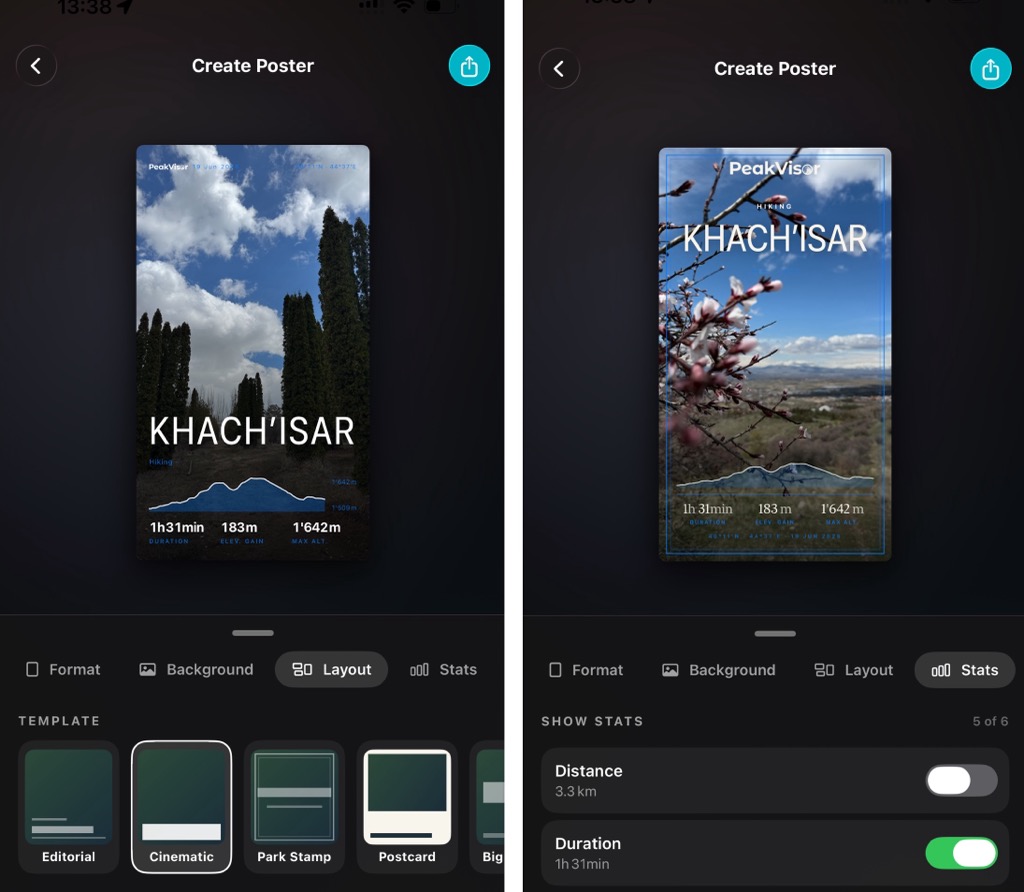
1. Format
Pick the aspect ratio based on where the poster is going:
- Story (1080×1920) — vertical, for Instagram and TikTok stories.
- Feed (1080×1350) — the tall portrait format the feed favors.
- Square (1080×1080) — the classic.
- Wide (1600×900) — desktop wallpapers and big screens.
- Print (1080×1440) — for when you actually do frame it.
2. Background
There are three kinds of backgrounds:
- Your photos — the actual photos from that track.
- Map — your route drawn over a topographic snapshot.
- Art / Funny / Abstract — illustrated backgrounds for the days when the camera let you down, or when a drawing simply fits the story better than any photo would.
There's also an auto option: it uses a real trail photo when one exists and quietly falls back to the map snapshot when it doesn't. For vertical and square posters, it crops from the bottom of the image, which is usually where the interesting part of the photo is — you, the summit, the dog.
The Funny section deserves its own explanation.
The “Funny” Backgrounds
We made a set of illustrated backgrounds for hikes that didn't go according to plan — which, if we're being honest, is most of the memorable ones. Each one covers a situation that any hiker will recognize sooner or later:
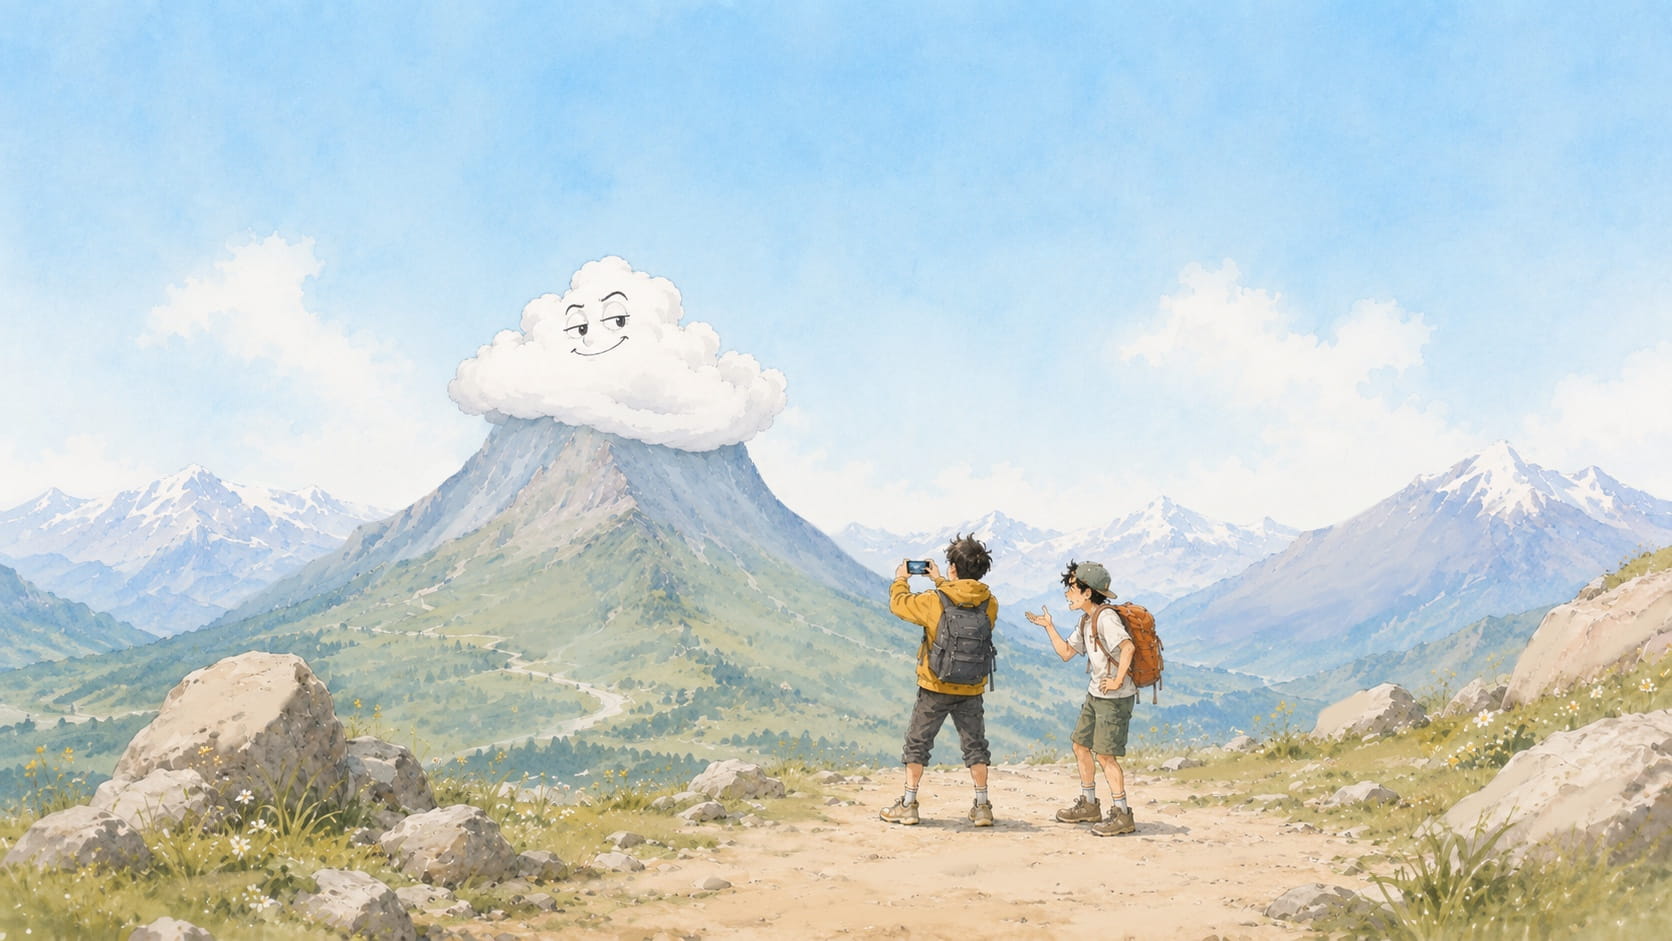
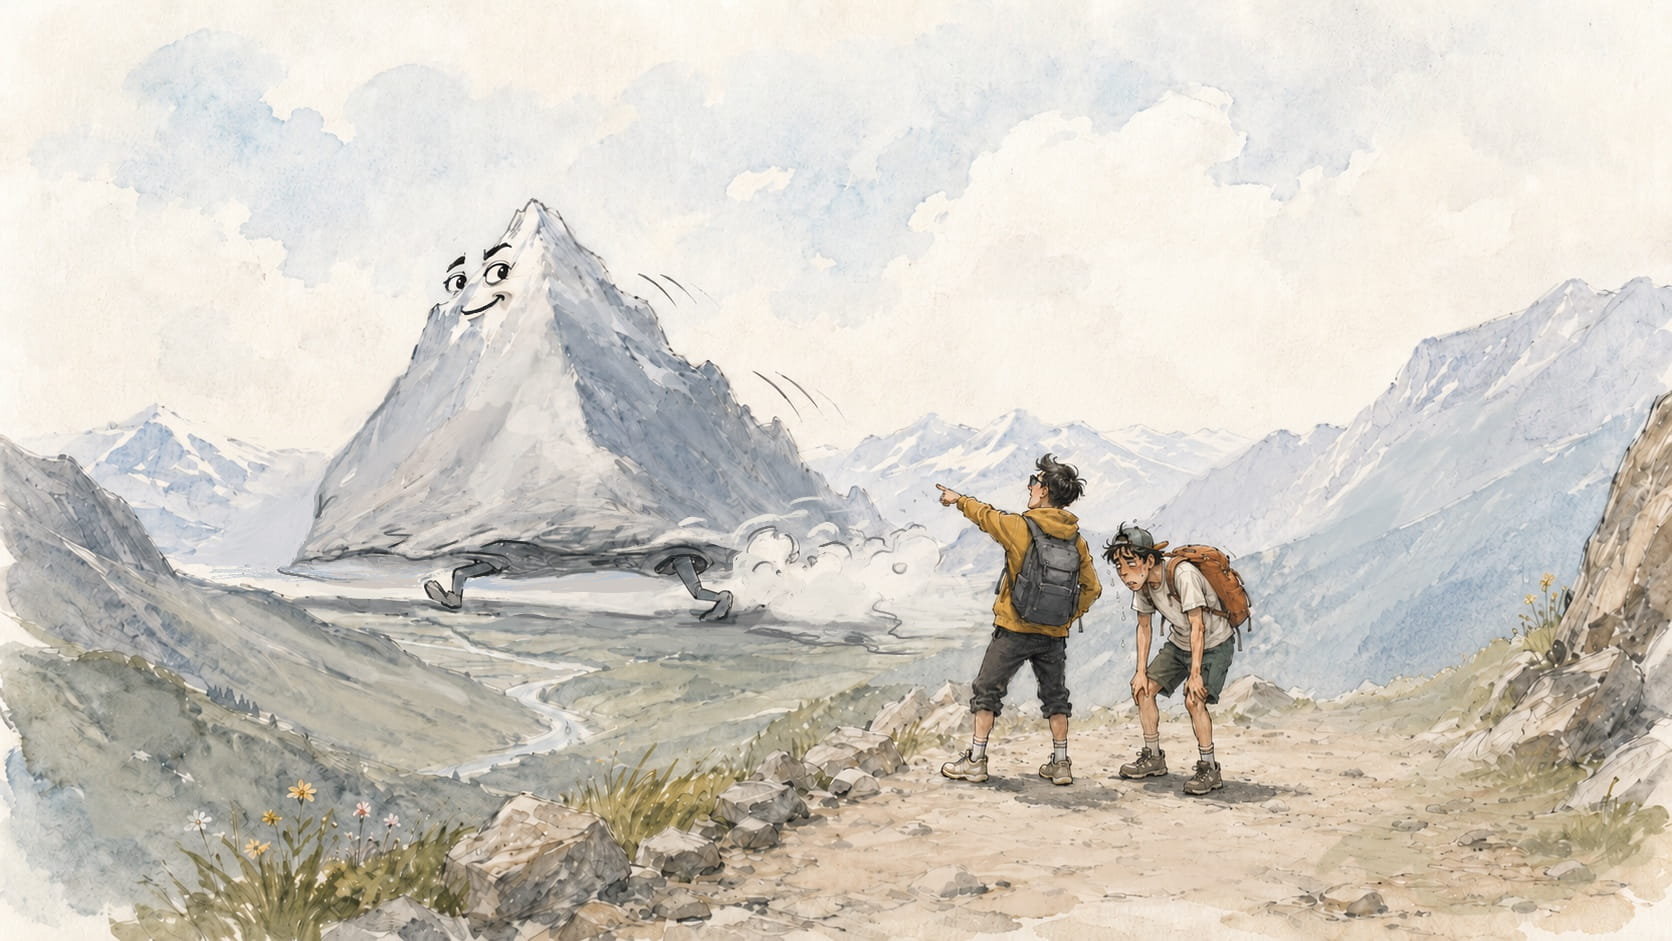
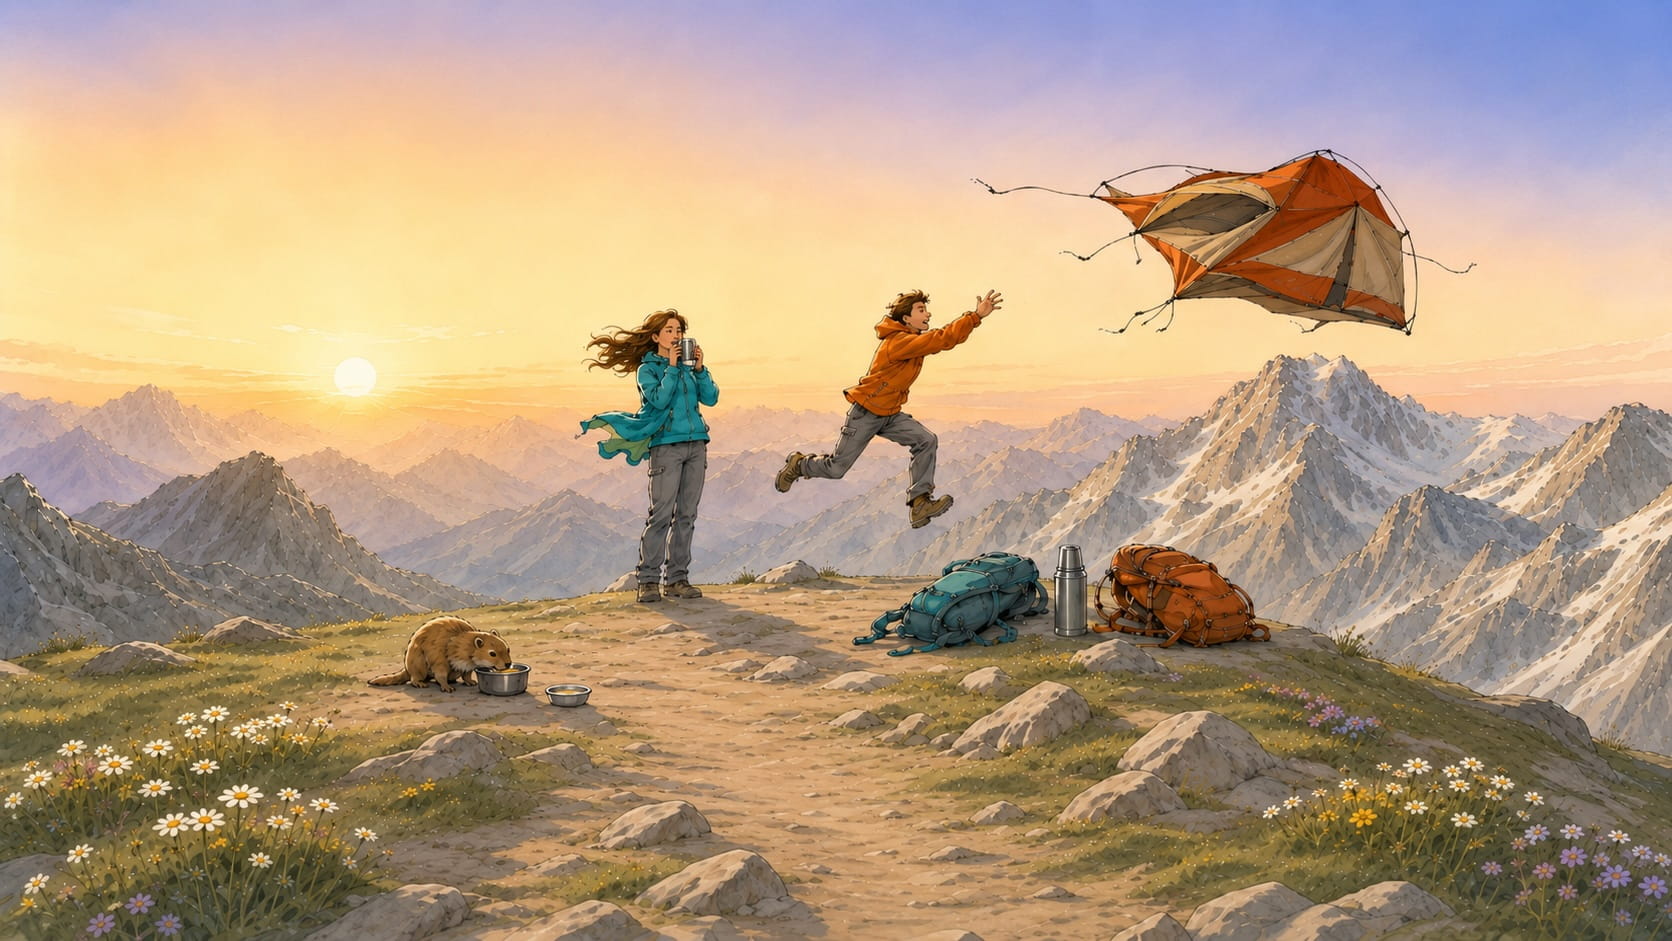
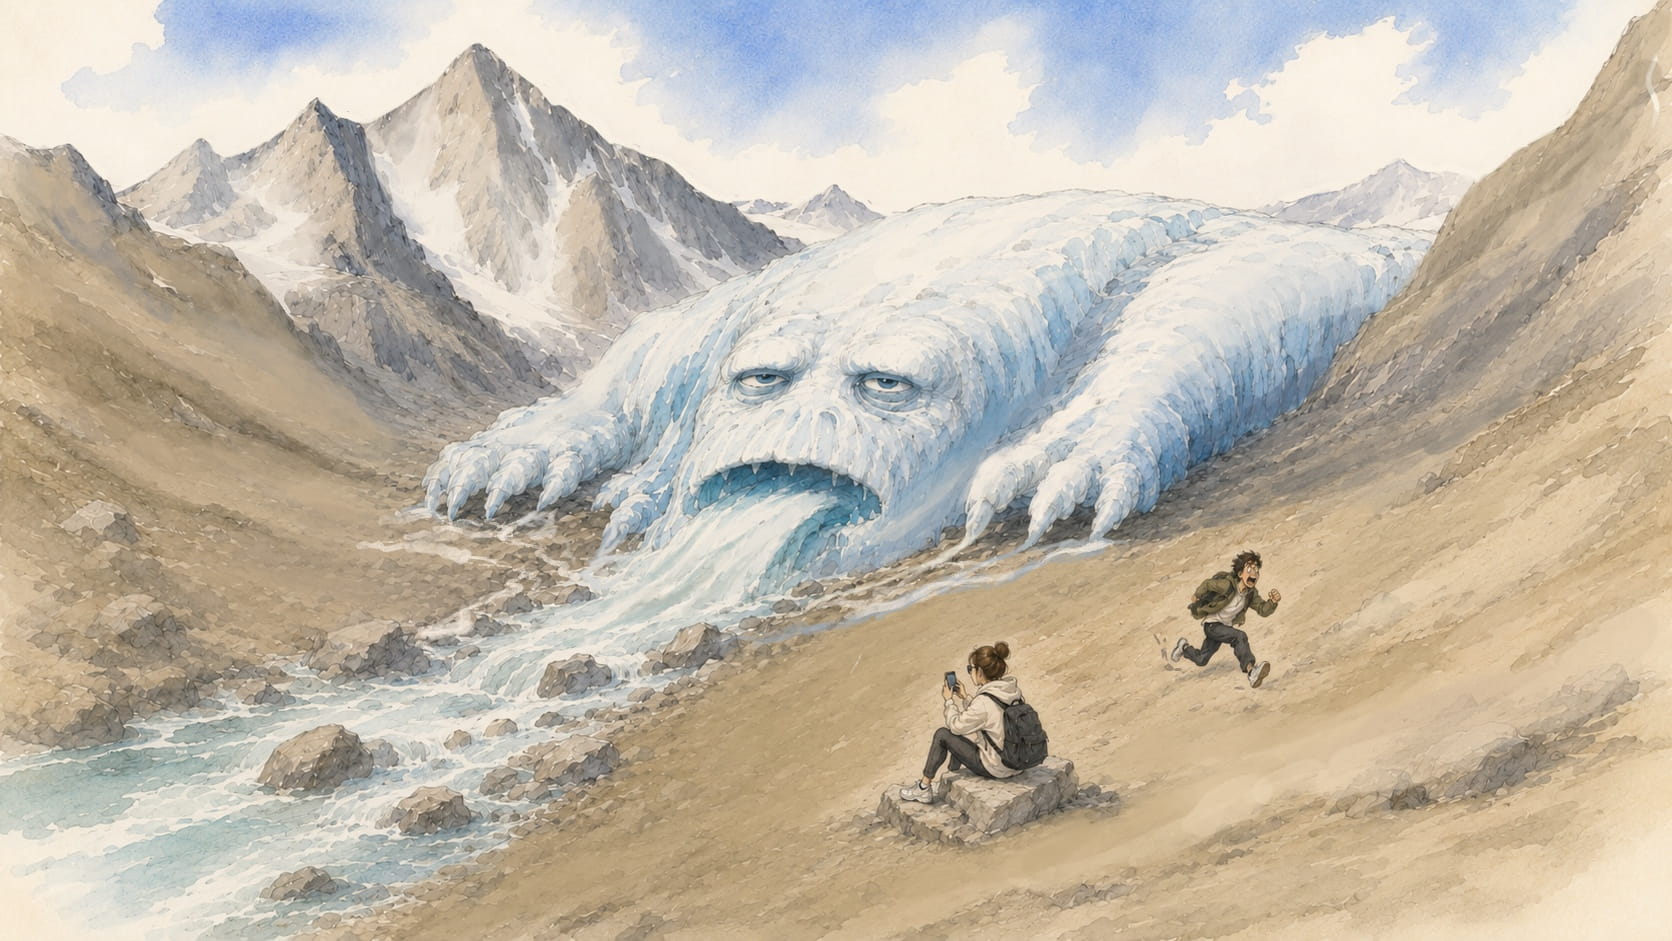
There's also a “Cunning marmot” that stows away in your backpack and turns up in every photo, a “Perfect Lake” with a suspiciously flattering reflection, and a few more. Pick whichever one best matches how the day actually went.
3. Layout
The same track can look very different depending on the template. There are five:
- Cinematic — a full-bleed photo with a single clean row of stats floating over a soft gradient at the bottom.
- Frosted — an edge-to-edge photo with translucent, blurred “liquid-glass” stat pills. It works especially well on busy or bright backgrounds that a dark gradient would ruin.
- Editorial — a framed look with crisp white stat cards and icons. The tidiest of the five.
- Route Art — a minimalist option where the route line itself is the design, drawn on a textured background with a start bead and a ringed finish marker. It needs no photo at all, which makes it the best choice for hikes where the camera never left the backpack.
- Postcard — a framed inset image on a light card with clean stats below.
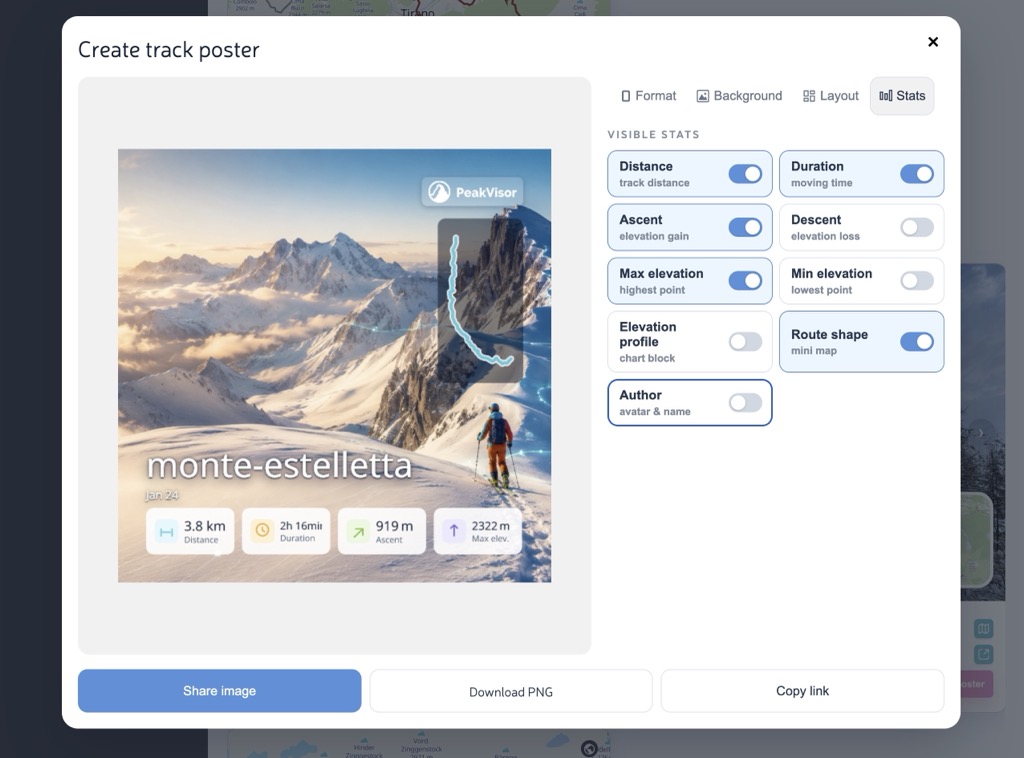
4. Stats
Toggle exactly what appears on the poster: distance, duration, ascent, descent, and max/min elevation. There are also three extras — an elevation profile, a route shape mini-map, and an author chip with your avatar and name. You can show everything or keep it minimal; nobody needs to know the hike took nine hours unless you want them to.
When it looks right, hit Download or Share. The preview renders at a reduced resolution to keep things fast, but the final download is full quality — and we cache renders for a while, so tweaking options and re-rendering stays quick.
What About Private Tracks?
Posters can only be made from public tracks. But if you open the constructor on a private track, you won't hit a dead end — you'll get a prompt asking whether you want to make the track public and continue. Say yes, and the track flips to public and the constructor opens. One click, no digging through settings.
On Your Phone, in the App
The PeakVisor app works the same way, with the same two entry points — both right where your tracks already live. Open your profile to see the list of all your recorded hikes, and on any track in your Saved Trails, the Create Poster button sits right next to Share. Tap it and you're in.
Go Make One
That's the whole feature. Find a track, hit the poster button, pick a format, a background, a layout, and your favorite stats, and thirty seconds later you have something genuinely worth posting — proof that you went up the hill and came back down with a story.
And if you do share one, tag @peakvisor_app — we'd love to see what your hikes look like as posters.