
If you are a passionate outdoor enthusiast odds are that your smartphone and DSLR camera roll is full of picturesque mountain landscapes made over the years of your hiking adventures.
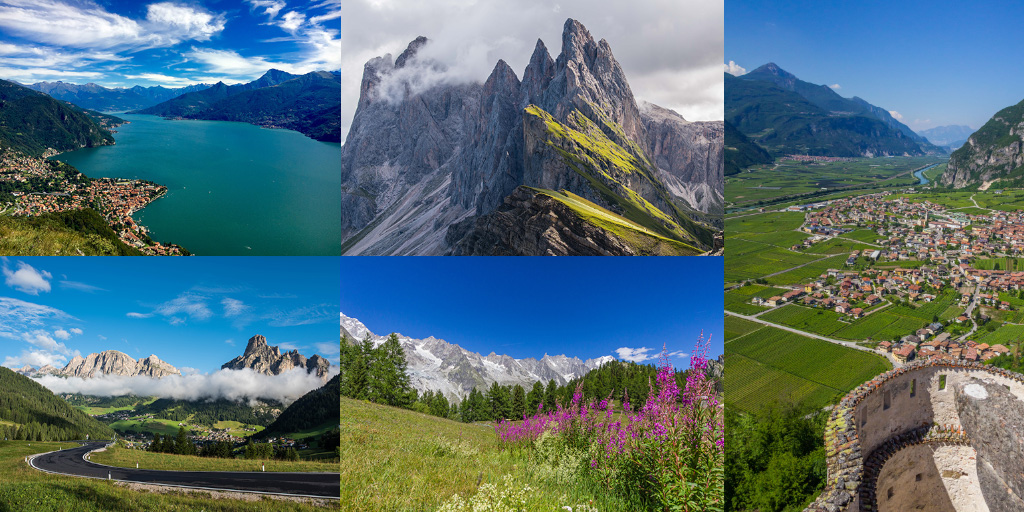
Or you might simply have captivating photos from your vacation long ago and you are curious what the features in that photo are.
If you want to
- Identify all visible mountains, lodges, huts, castles
- Make an Augmented Reality postcard
- Better understand the scenery in your outdoor photos
- See hiking trails and cable car routes
PeakVisor allows you to turn this plain photo into this:
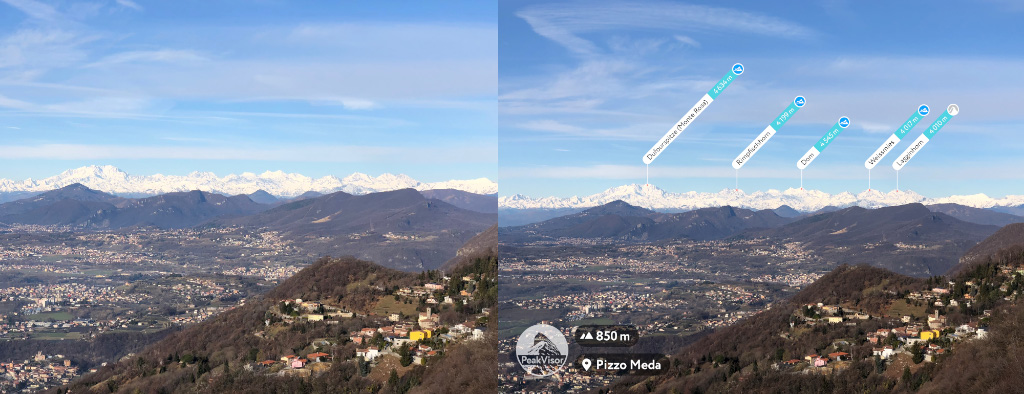
The PeakVisor website allows you to import any photo, then it will overlay it with a 3D landscape model and highlight the most important objects, such as peaks, mountain huts, lakes, and even castles!
Have a look at the demo video in which I identify all the mountains in the photo. It takes less than a minute to augment it!
Hopefully, you are convinced enough to identify peaks in every photo you might have from your hiking trips! Please let us know what you think about it at peakvisor@routes.tips. Also, below you will find a step-by-step guide on how to use the Import Photo feature to label landscape features in your photos.
How to Identify Mountains in a Photo
- Open the PeakVisor mountains explorer.
- Click the [Import Photo] button in the header.
- Choose a photo which you would like to identify. After uploading it, you will see some info messages about using the feature and controls.
- If your photo doesn’t have the location information embedded into it (or it was inaccurate) then you should use a map to properly position the viewpoint.
- After that adjust the rendered 3D terrain panorama to perfectly match horizon in the photo. By dragging the central cross you can move panorama sideways, up & down, by dragging rotators on the sides you can adjust the horizon line (in case your photo is slightly tilted).
- By clicking on mountain labels you can show and hide them from the final picture.
- Put location name or anything you want in the Title, so it will be imprinted in the final picture.
- Use the View Mode to change the picture style between full panorama (hillshades & silhouettes, silhouettes, labels only).
That’s it! Click the Apply button to get your Augmented Reality picture with peak names in it.
Identify Mountains with PeakVisor for Mobile
Finally, please don’t forget that the same (and even more convenient) Import Photo feature is available in the PeakVisor mobile app designed both for iOS and Android. It even allows you to add selfies into the photos!