Tips for Moving Quickly in the Mountains
If you’ve been skiing for any amount of time, you’re likely familiar with the concept of ski touring. Self-propulsion comes with a number of advantages; fresh tracks, more exciting lines, pristine mountain environments, solitude, and silence are just a few of the perks.
However, one gigantic disadvantage keeps the crowds on the periphery of this niche sport. The main issue is that you’ll spend all day climbing for just a few minutes skiing.
Going ski touring for the first time? It might take three or four hours to climb just a few hundred meters. I took 10 hours to skin up Mt. Adams as a reasonably fit 26-year-old, averaging about 230 meters (760 ft) an hour. I felt like gravity was doubling every 30 minutes as I slogged up the mountain. Adults with children who were older than me were passing left and right. It’s hard to have fun when you’re moving this slowly. Moreover, it’s dangerous; more time means more exposure, and people tend to make mistakes when struggling and exhausted.
Killian Jornet and other elite athletes can muster up to 2000 meters (6,600 ft) of climbing per hour. How do they do it? The obvious answers are fitness and extraordinarily lightweight gear. But most people are busy and can only be so fit, and the super light skis are awful for the descent (and even worse for the wallet).
Fortunately, there are many other ways to save energy and boost speed. Without increasing total energy expenditure, it’s possible to double your climbing pace.
I’m not saying you’ll climb Mont Blanc in 4 hours (Killian’s record), but 1000-meter morning missions should easily be in the cards for reasonably fit skiers. Most folks should be able to clock 500 meters (1,650 ft) an hour for at least a couple of hours straight without extraordinary fitness. From planning the right route to cutting the right skin track, here’s a discussion of techniques to get you up the mountain faster.

Skinning Technique is Important
Most people wouldn’t consider the act of skiing to be technical. It’s much easier than downhill skiing; you can usually get the hang of it after a couple of minutes and start making moves toward the top. But there’s more than meets the eye. Let’s discuss some of the best ways to improve uphill technique.
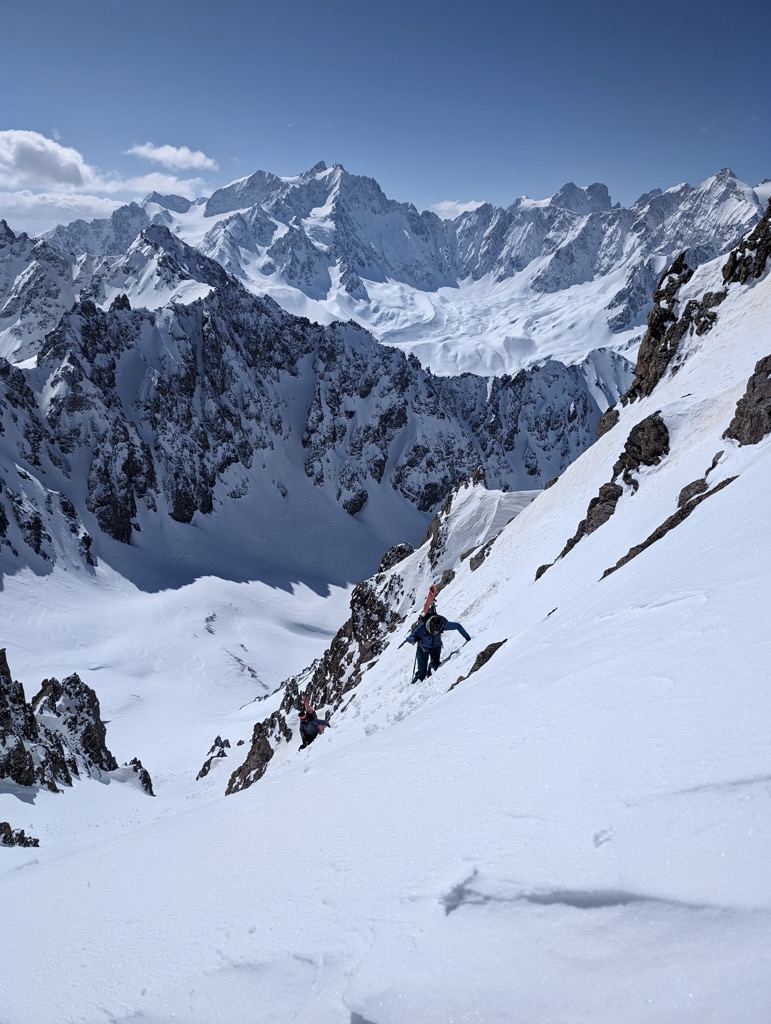
Finding an Efficient Grade on the Skin Track
One of the most common mistakes of ski touring is clear for all to see. Go to any popular pass, and you’ll see the outlines of dozens of up tracks etched into the snow by skiers. Those with the fewest kick turns are likely climbing at too steep a grade.
Keep in mind that if you’re using the heel lift on your bindings for the whole ascent, the skin track is too steep. Skiers put in steep skin tracks for a number of reasons. Some hate doing kick turns. Others think that a steeper grade means getting up the mountain faster.
However, the evidence shows that there is an ideal grade for speed and endurance, and it’s less steep than you think. The best course of action is to get those kick turns dialed because you’ll need more of them to stay in that sweet spot on steep climbs. More on that below.
Elegant Kick Turns
Kick turns are one of the most technical aspects of skinning, and it takes some time to master them. The best practice is to get out there and stomp up something steep while keeping the heel lifters disengaged. This will force you to put in a lot of turns and really rotate for each one.
Kick turns in soft snow are pretty manageable from a skills development perspective. They aren’t that hard. Eventually, if you keep touring, you come across some genuinely heinous combinations of steep and icy terrain where you need to make a lot of kick turns. In these cases, ski crampons are a lifesaver (maybe literally). But you’ll be glad for all that diligent practice.
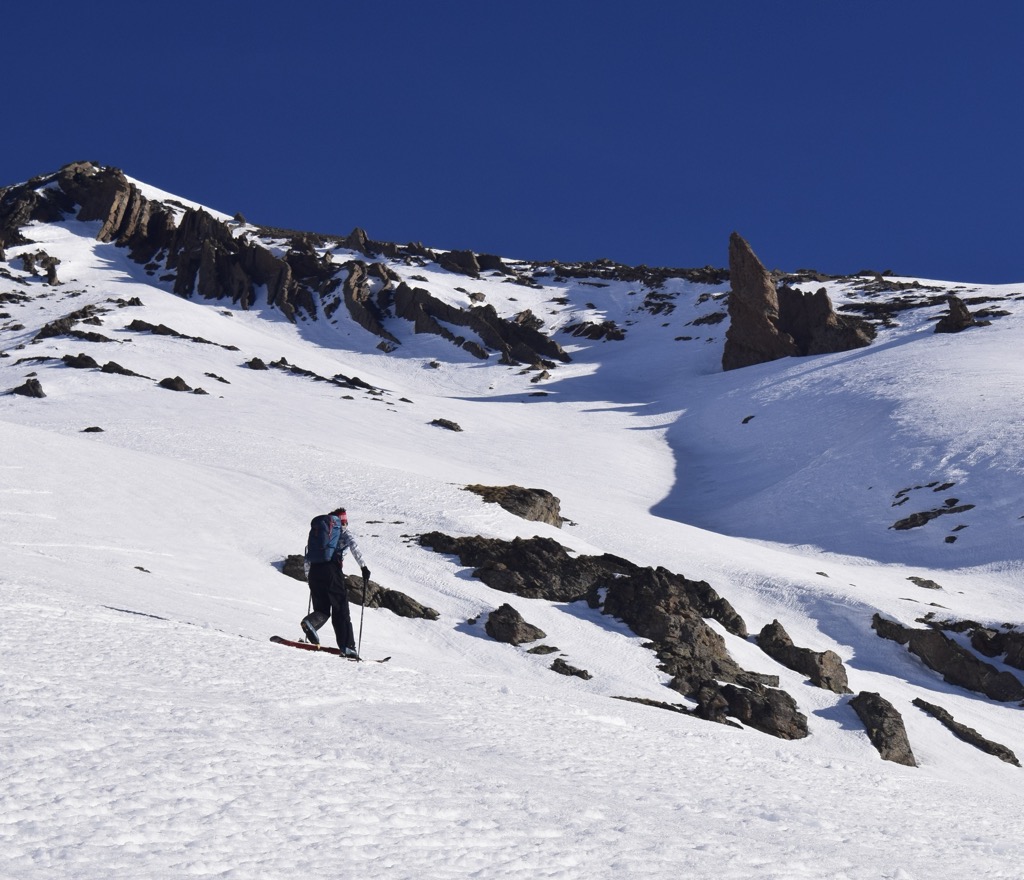
Keeping Your Skis on the Snow
As you advance your feet forward, it’s natural to make a stepping motion and lift the ski instead of just rotating forward in your binding. It’s far less efficient because much of your energy is wasted lifting the ski rather than sliding it forward. Everybody is going to lift their skis occasionally, but habitually doing it will drain energy and slow you down.
It’s a tricky little habit to correct. Try to be conscious of it while skinning, and have a partner take a video to show you how much your skis are coming off the snow (you may be surprised). To correct the problem, it’s important to have your boots loose while skinning up. That way, you can get your rear heel as high as possible as your front foot moves forward (touring-specific boots help tremendously because they have more range). You may have to take shorter strides at first to maintain contact properly.
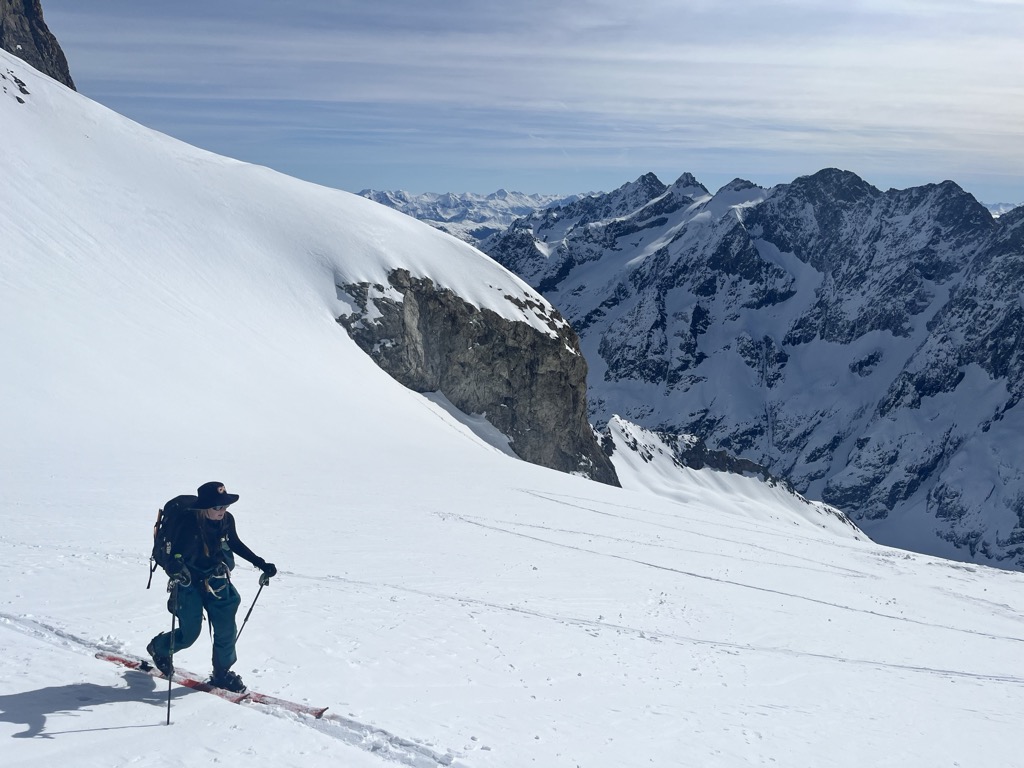
Steady Pace
It’s no secret: slow and steady wins the race. We’ve been told this time and time again, and it’s true in many aspects of life. Still, maintaining a pace on the skin track is an art that takes practice. It also helps if you have experience in other endurance sports like running or cycling.
A lack of pace comes in many forms. It could mean taking off like a rocket at the start, only to bonk an hour later. Meanwhile, a fitful pace features little bursts of energy punctuated by frequent breaks.
Continually moving forward involves taking fewer breaks. The breaks you do have should be more purposeful and orchestrated. If you need to de-layer, eat a snack, and go to the bathroom, do all three in the same break rather than continually stopping.
Planning / Following Your Route
Having a plan is an essential—and underappreciated—part of ski touring. Planning ahead will save you much time and effort, as well as infighting among group members about where to go.
Making a Plan
I take several factors into account when I make a plan. The first is evaluating potential avalanche and weather conditions and deciding the best ski zone. Once you decide what kind of zone you want to ski, a second priority is finding a safe route up the mountain that avoids avalanche-prone slopes, terrain traps, rockfall zones, or other hazards to the fullest extent possible.
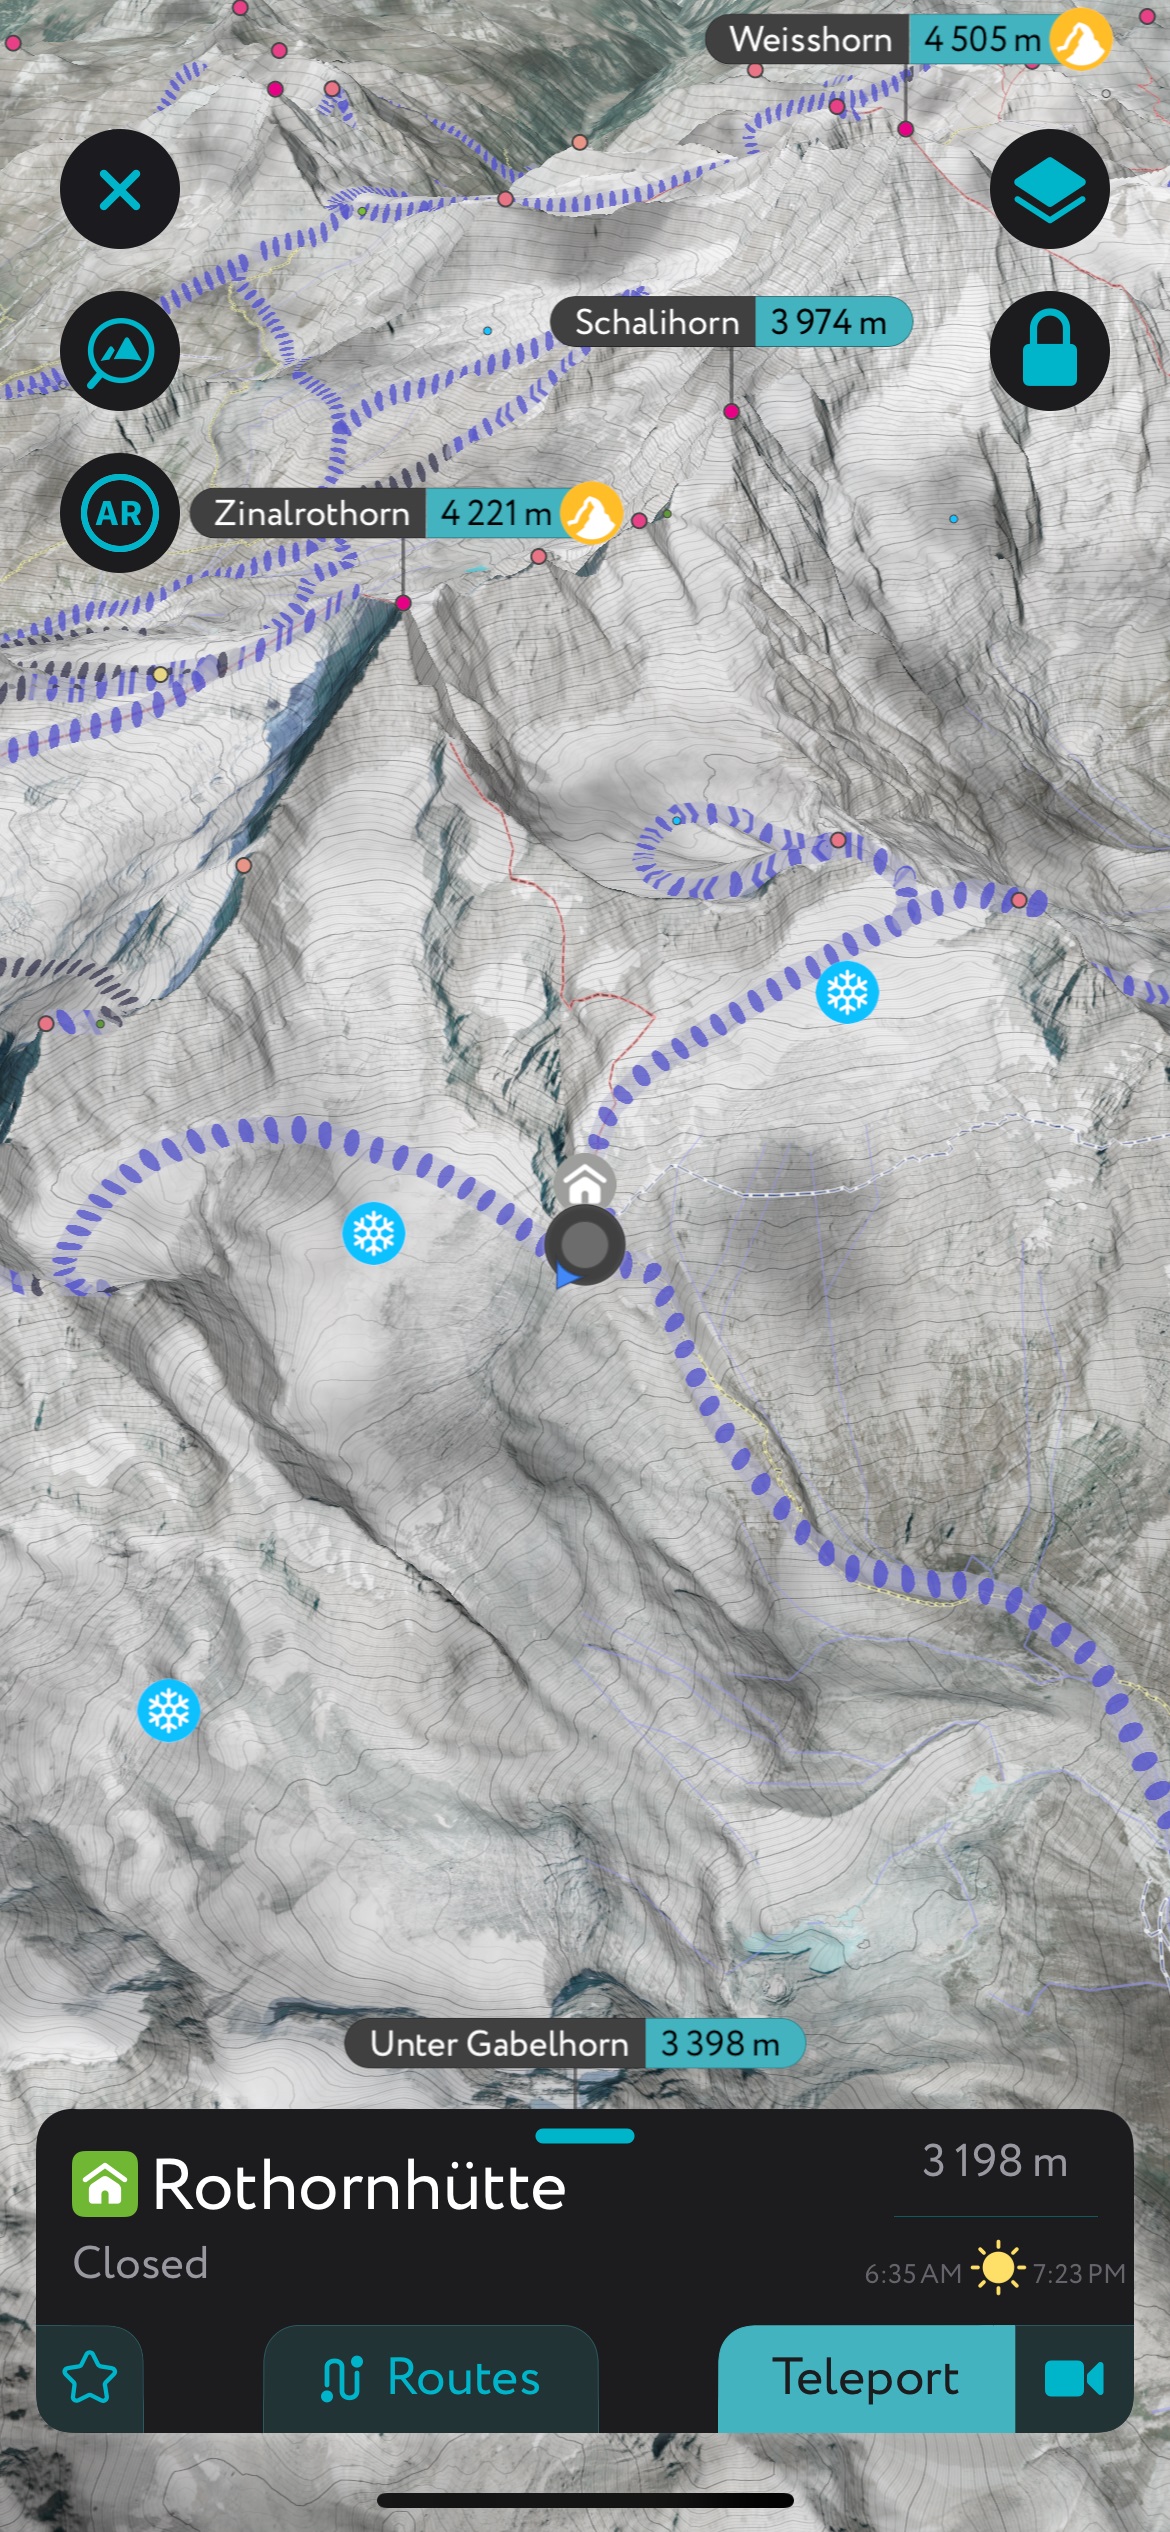
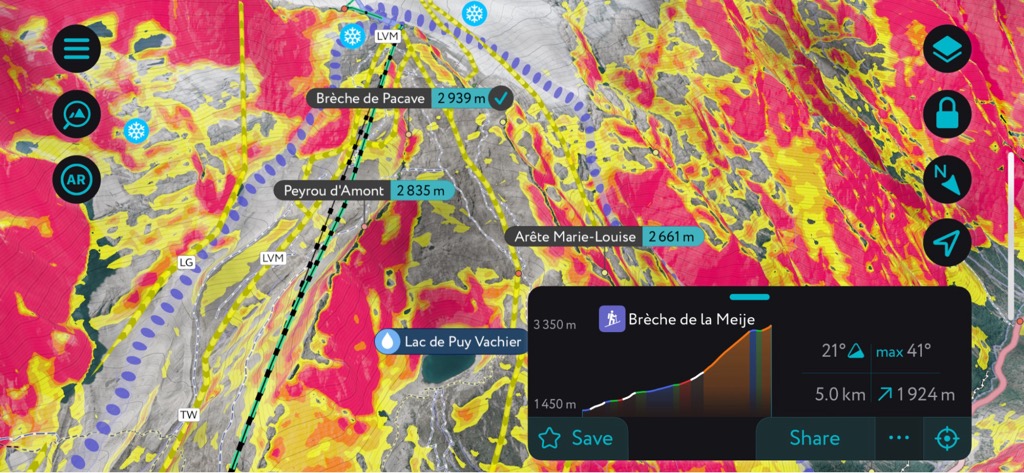
Climate change has put a damper on backcountry skiing in recent years, but technological advances have also simultaneously improved the experience. Mapping apps for your smartphone or smartwatch are one of the best inventions. It’s difficult to get lost when you have a GPS location in addition to the route. I’ll admit, we’re a bit biased, but the PeakVisor app is perfect for ski touring! More information on that at the end of the article.
It’s also a good idea to carry a backup map in case your electronics fail, especially if you’re in a new zone.
Other Tracks: To Follow or Not to Follow
Using other people’s skin tracks is a common practice and a great way to save time and energy when climbing the mountain. I and everybody I know usually do this, as long as the skin track follows an efficient slope angle and takes a safe route.
It’s also just good ethics to use an existing skin track if it’s a good one, as opposed to taking up more space on the slopes for a new skin track that doesn’t need to be there.
Focused Transitions
Transitions are an easy way to shave 10 minutes off a ski tour. First, getting a routine dialed in is essential. You want to go through a mental checklist each time to avoid forgetting a step, e.g., tightening your boots, etc.
Second, having an orderly pack prevents a gear explosion and streamlines the transition process.
Third, you can practice to have some tricks up your sleeve. The fastest one is surely removing your skins and changing your bindings to ski mode without taking off your skis. You need pin bindings for this, and it’s easiest when you have relatively short skis.
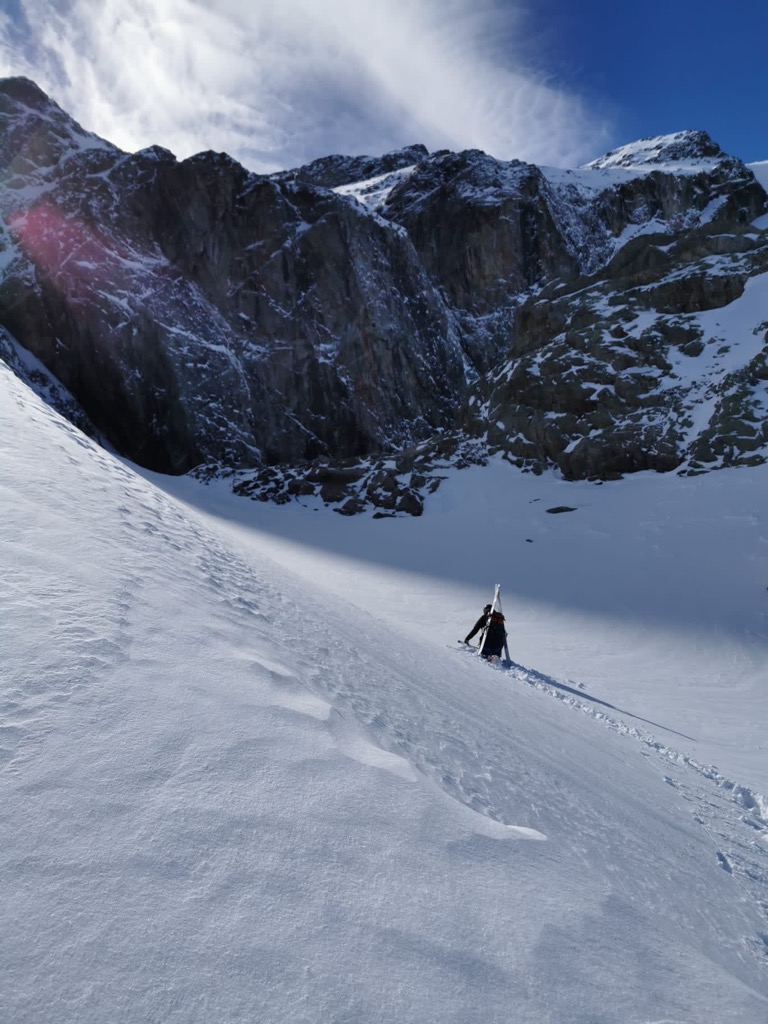
Knowing the Snow Conditions
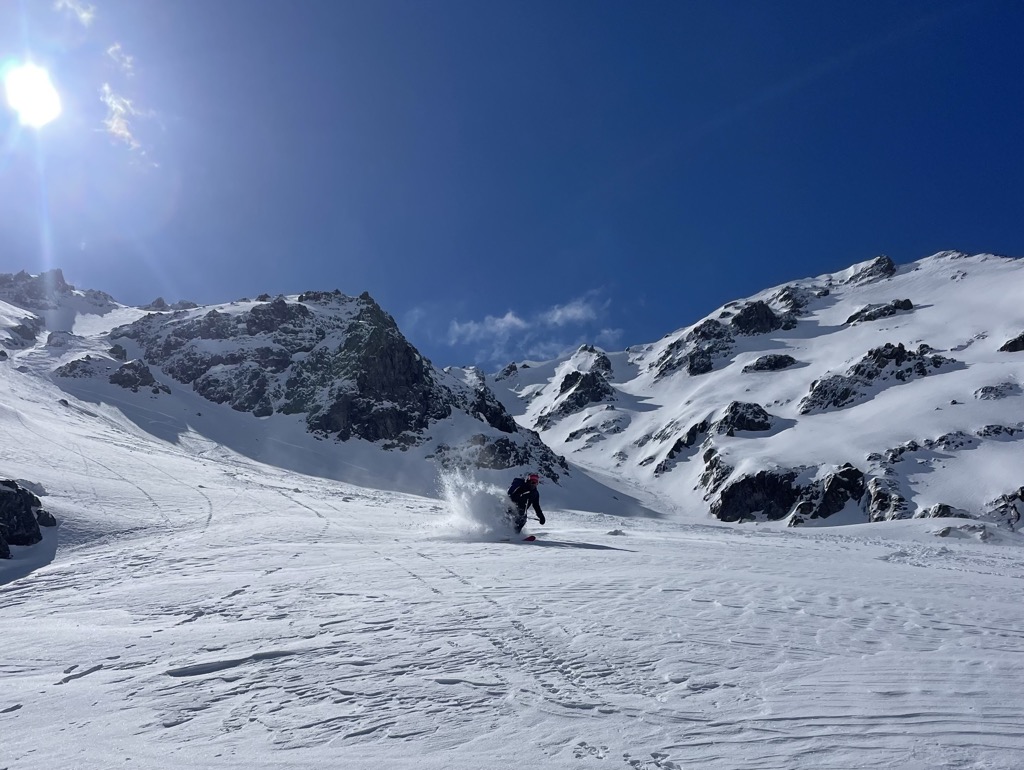
Everyone wants to ski powder. It’s a whole lot easier to find fresh tracks in the backcountry than at the resort. At the same time, it’s easy to underestimate how much energy it takes to break a skin track through fresh snow.
Having a big group can make it easier to break trail in deep powder. You can regularly switch up the leader so that everybody gets a turn to stomp in the track. Of course, you can also follow an existing skin track, assuming that it’s a decent one, as we just discussed. We’re looking for an efficient grade, well-placed kick turns, and a safe route up the mountain.
Another tip is to choose an up track that avoids the deepest snow. One example is following a ridgeline up the mountain. Ridgelines usually get more wind, scouring the snow off. They are generally the safest way to ascend a mountain in high avalanche conditions. Then, you can ski down a bowl or a couloir, terrain features that tend to collect snow.
Many ski tourers avoid big powder days altogether. Heading out a few days after a storm or in the springtime offers more predictable snow and avalanche conditions. Springtime touring usually involves skinning up on relatively hardpacked slopes and catching a thaw cycle on the descent.
Wading through deep powder is one end of the spectrum; the other end is super icy snow, refrozen after repeated thaw cycles. Using bad technique here can be dangerous, as it may be difficult to arrest a fall. Ski crampons and an ice axe can help. Or, you can remove skins altogether and start booting up the mountain (more likely on big ski mountaineering missions).
Snacks
Ski touring is intense exercise, and it’s essential to bring snacks. Forgoing snacks can sometimes result in the dreaded “bonk,” when your body runs out of energy to quickly burn, leaving you feeling completely wiped out. It’s different than regular exhaustion. It can happen quickly without warning and make it difficult to continue.
I’ve only experienced this with intense activities like ski touring, biking, and running, and then only when I forgot to eat something.
Ensure you’re getting enough to eat by bringing plenty of carb snacks like sports bars or sugary chocolate and eat at regular intervals.
Lightweight Gear
You already know that lightweight gear is important. The same revolution has taken place in every outdoor sport.
In ski touring, however, there’s a balance between lightweight and performance. Professional ski mountaineering setups won’t be very fun on the descent, even if they are the fastest overall. Finding the right ski for you means finding an overall balance.
Skis
Options range from state-of-the-art carbon fiber skis that weigh fractions of a kilogram to, well, regular skis with touring bindings.
For most people, the right ski is constructed from lighter carbon fiber but is a similar size to the skis they normally ski. There’s a trade-off in performance with a lighter ski—they tend to chatter on hardpack snow and be more difficult to turn in powder, for example—so it’s tough to also size down at the same time.
Boots
The focus is often on lightweight skis, but touring boots are probably more important. At the very least, you need a boot with a hiking mode, where the heel disengages for skinning and booting. Generally, a touring boot is also more flexible and lighter than an alpine boot.
Touring boots come in a spectrum. Some are stiff and heavy like alpine boots but have a hike mode, making them useful for lift-assisted missions that might require short skins. These boots are a slog on the way up but are great for the descent.
On the other end of the spectrum, super lightweight touring boots are made from carbon fiber and are little more than glorified hiking boots. These boots are outstanding on the way up but miserable on the way down. You simply cannot ski the way you would with a stiffer boot.
The same rules apply to boots as to skis. That is, for most people, the best option is somewhere in the middle: a reasonably rigid boot that’s not too heavy but also not the lightest option.
Bindings
Over millennia, touring bindings have undergone many iterations (yes, humans have been doing this for thousands of years). Once upon a time, only telemark skiers could put on skins and make their way up the mountain (free the heel, free the mind). Then came special frame bindings that could serve as alpine bindings on the descent and an unlocked heel for the ascent.
Nowadays, for pure ski touring, nearly everybody uses pin bindings, which have two main advantages. First, they are way lighter than any alpine binding. Second, rotating the toe of your boot within the pin is a far more efficient movement than rotating a frame underfoot. You still frame bindings occasionally, but they’ve become almost completely replaced by pin bindings.
Pin bindings have a few disadvantages, namely that they don’t ski as well compared to a solid alpine binding. Pre-releases are known to happen; most pin bindings come with a lockout feature if you’re skiing consequential slopes and can’t afford to lose a ski.
Fitness / Training for Ski Touring
Like the lightweight gear, I saved this section for last, as it’s the most obvious. Ultimately, no matter how good your technique, planning, and gear choice are, you won’t be getting up the mountain without good fitness.
Ski-touring fitness is basically the same as running and cycling fitness. In fact, the aforementioned Killian Jornet is a world-champion trail runner and ski mountaineer. Cyclists or distance runners could translate their fitness into ski touring. I recommend those two sports for training outside of the season.
Start spending some time at high alpine refuges and other spots on the ski touring circuit, and you’ll start to notice something: these guys are tiny. Killian checks in at 59 kg (130 pounds), which is about 34 kg (75 pounds) lighter than me (he’s also 20 cm shorter than me). You could throw all the money you want at lightweight gear, but you won’t shave off 34 kilos!
Like everything else, there’s a balance here. Most people don’t want to—or need to—look like a gazelle, but carrying less weight around will likely be good for your health and uphill prowess.
Using the PeakVisor App
Interested in skiing? Check out the PeakVisor App. PeakVisor has been a leader in the augmented reality 3D mapping space for the better part of a decade. We’re the product of nearly a decade of effort from a small software studio smack dab in the middle of the Alps. Our detailed 3D maps are the perfect tool for hiking, biking, alpinism, and, most notably in the context of this article, skiing!

PeakVisor Features
In addition to the visually stunning maps, PeakVisor's advantage is its variety of tools for the backcountry:
- Thousands of ski touring routes throughout North America and Europe.
- Slope angles to help evaluate avalanche terrain.
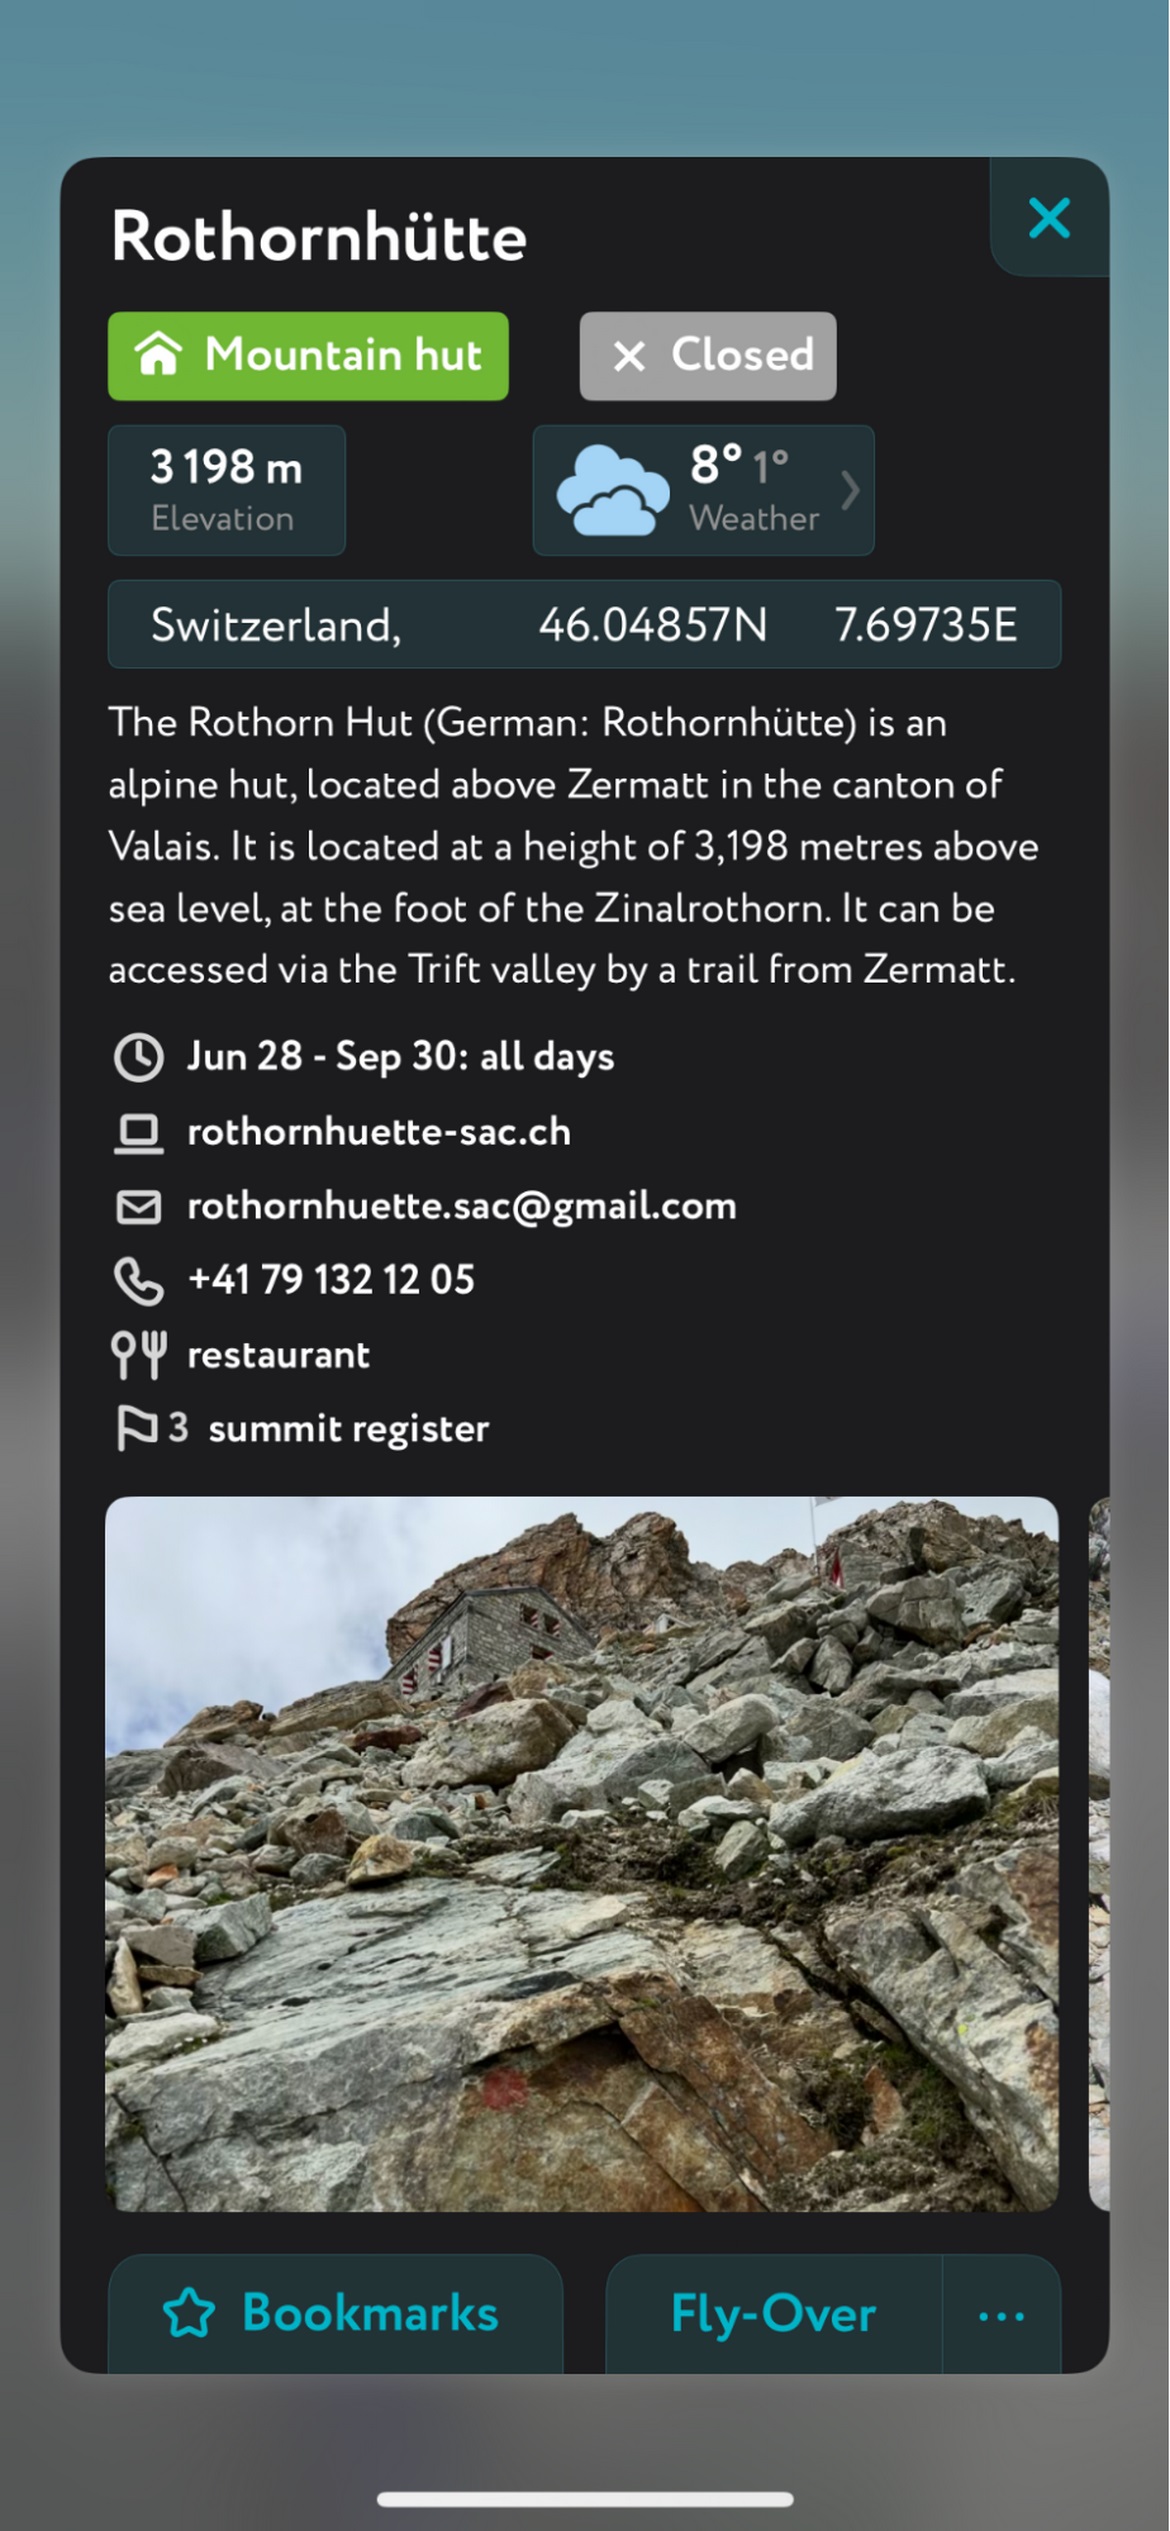
- Mountain hut schedules and contact info save the time and hassle of digging them up separately.
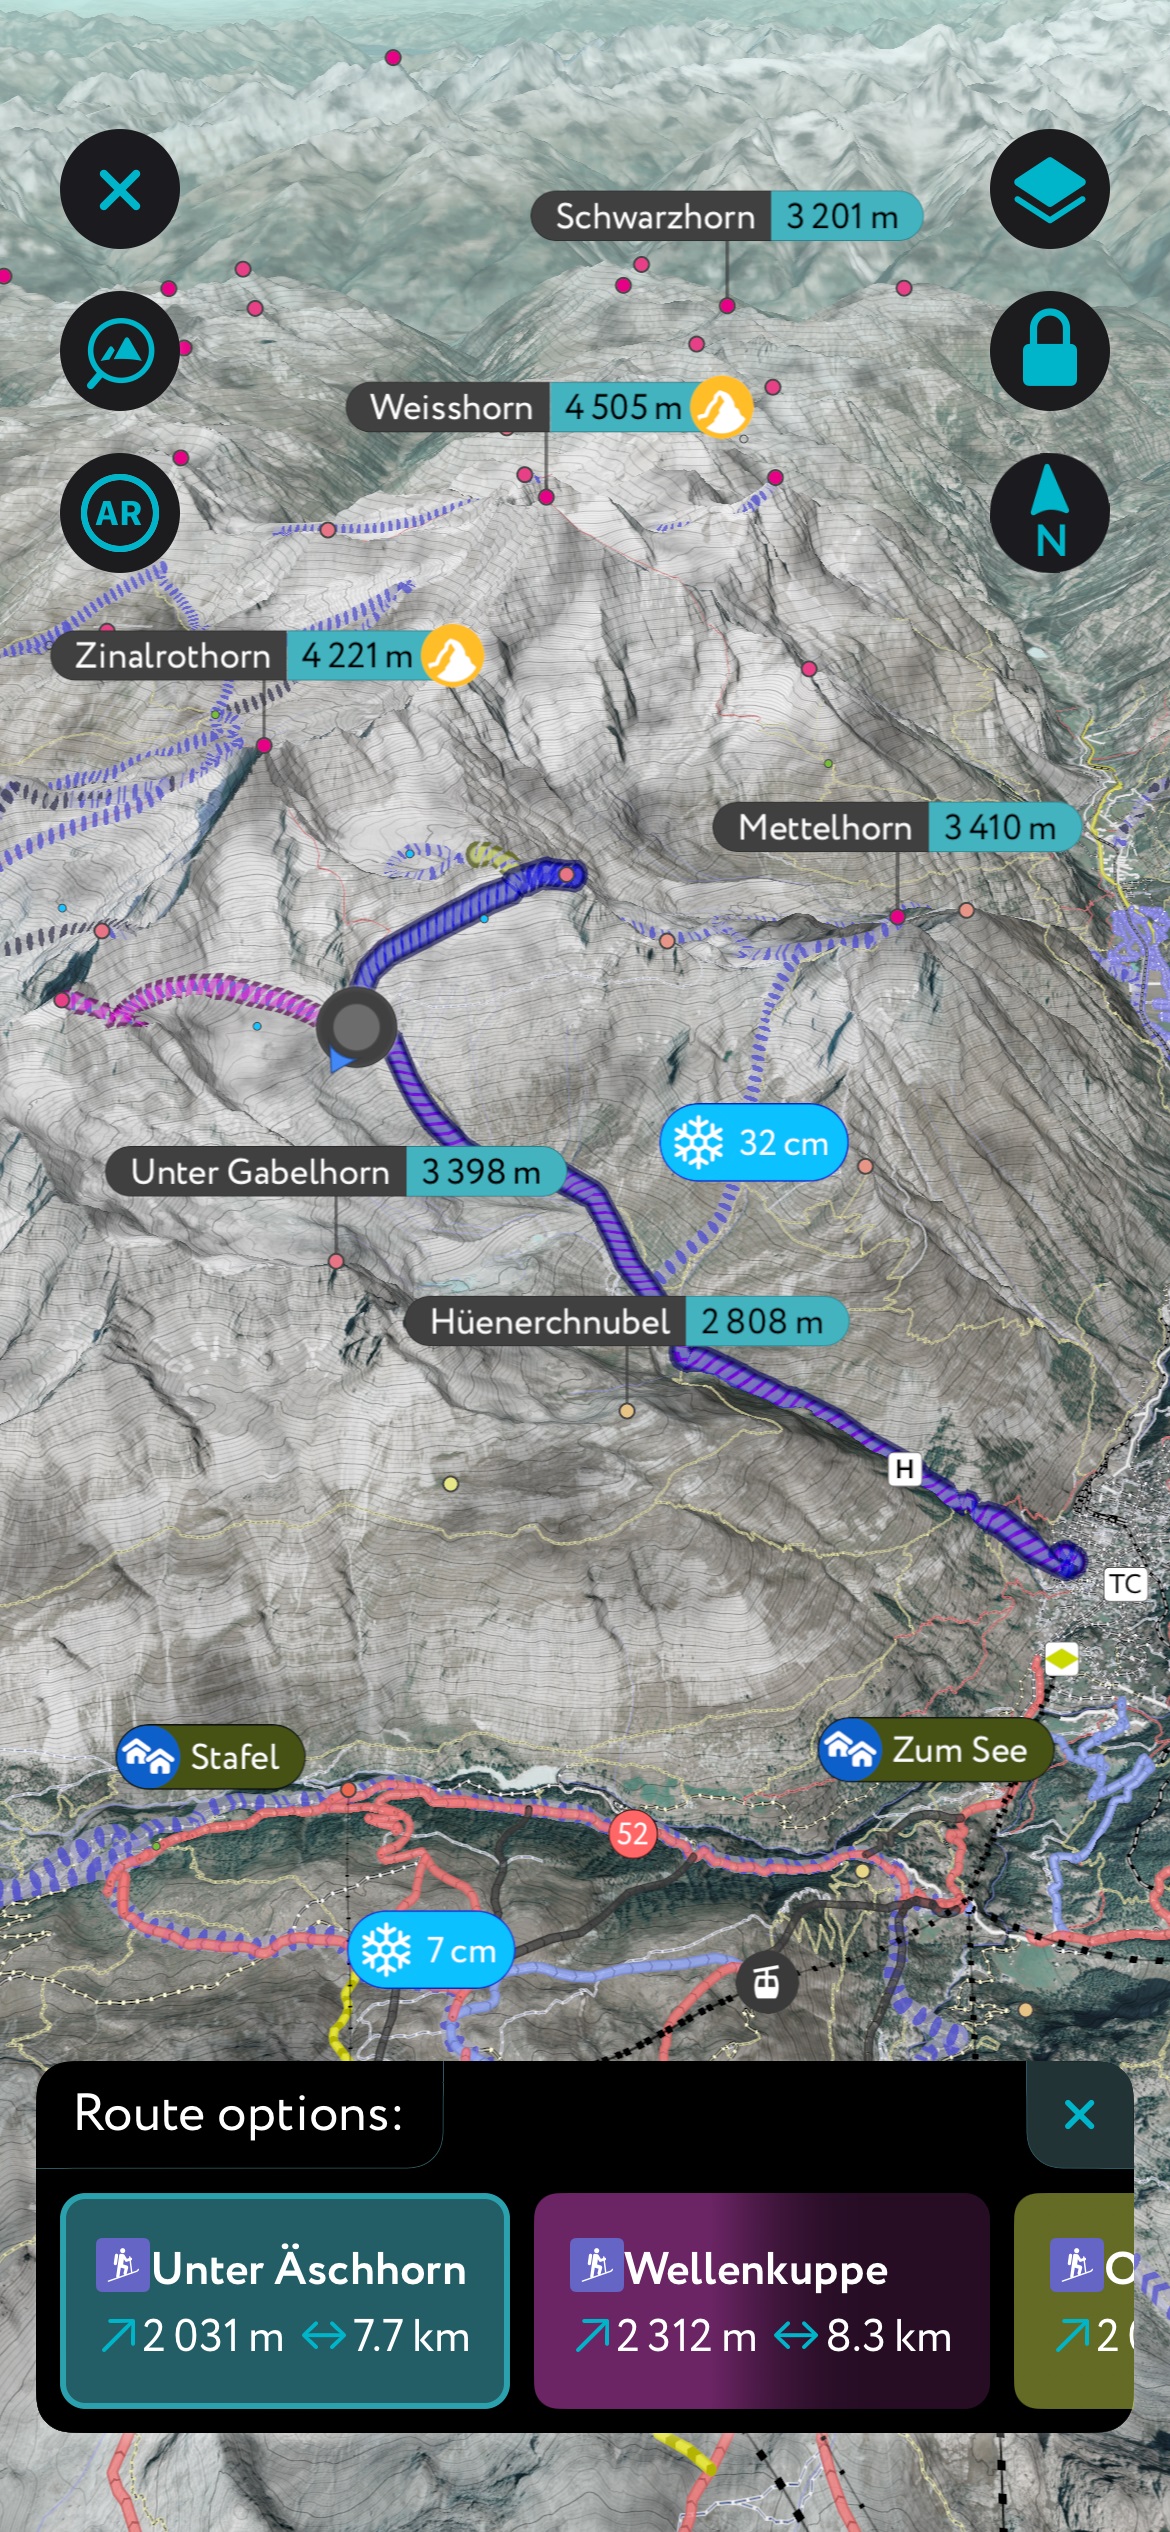
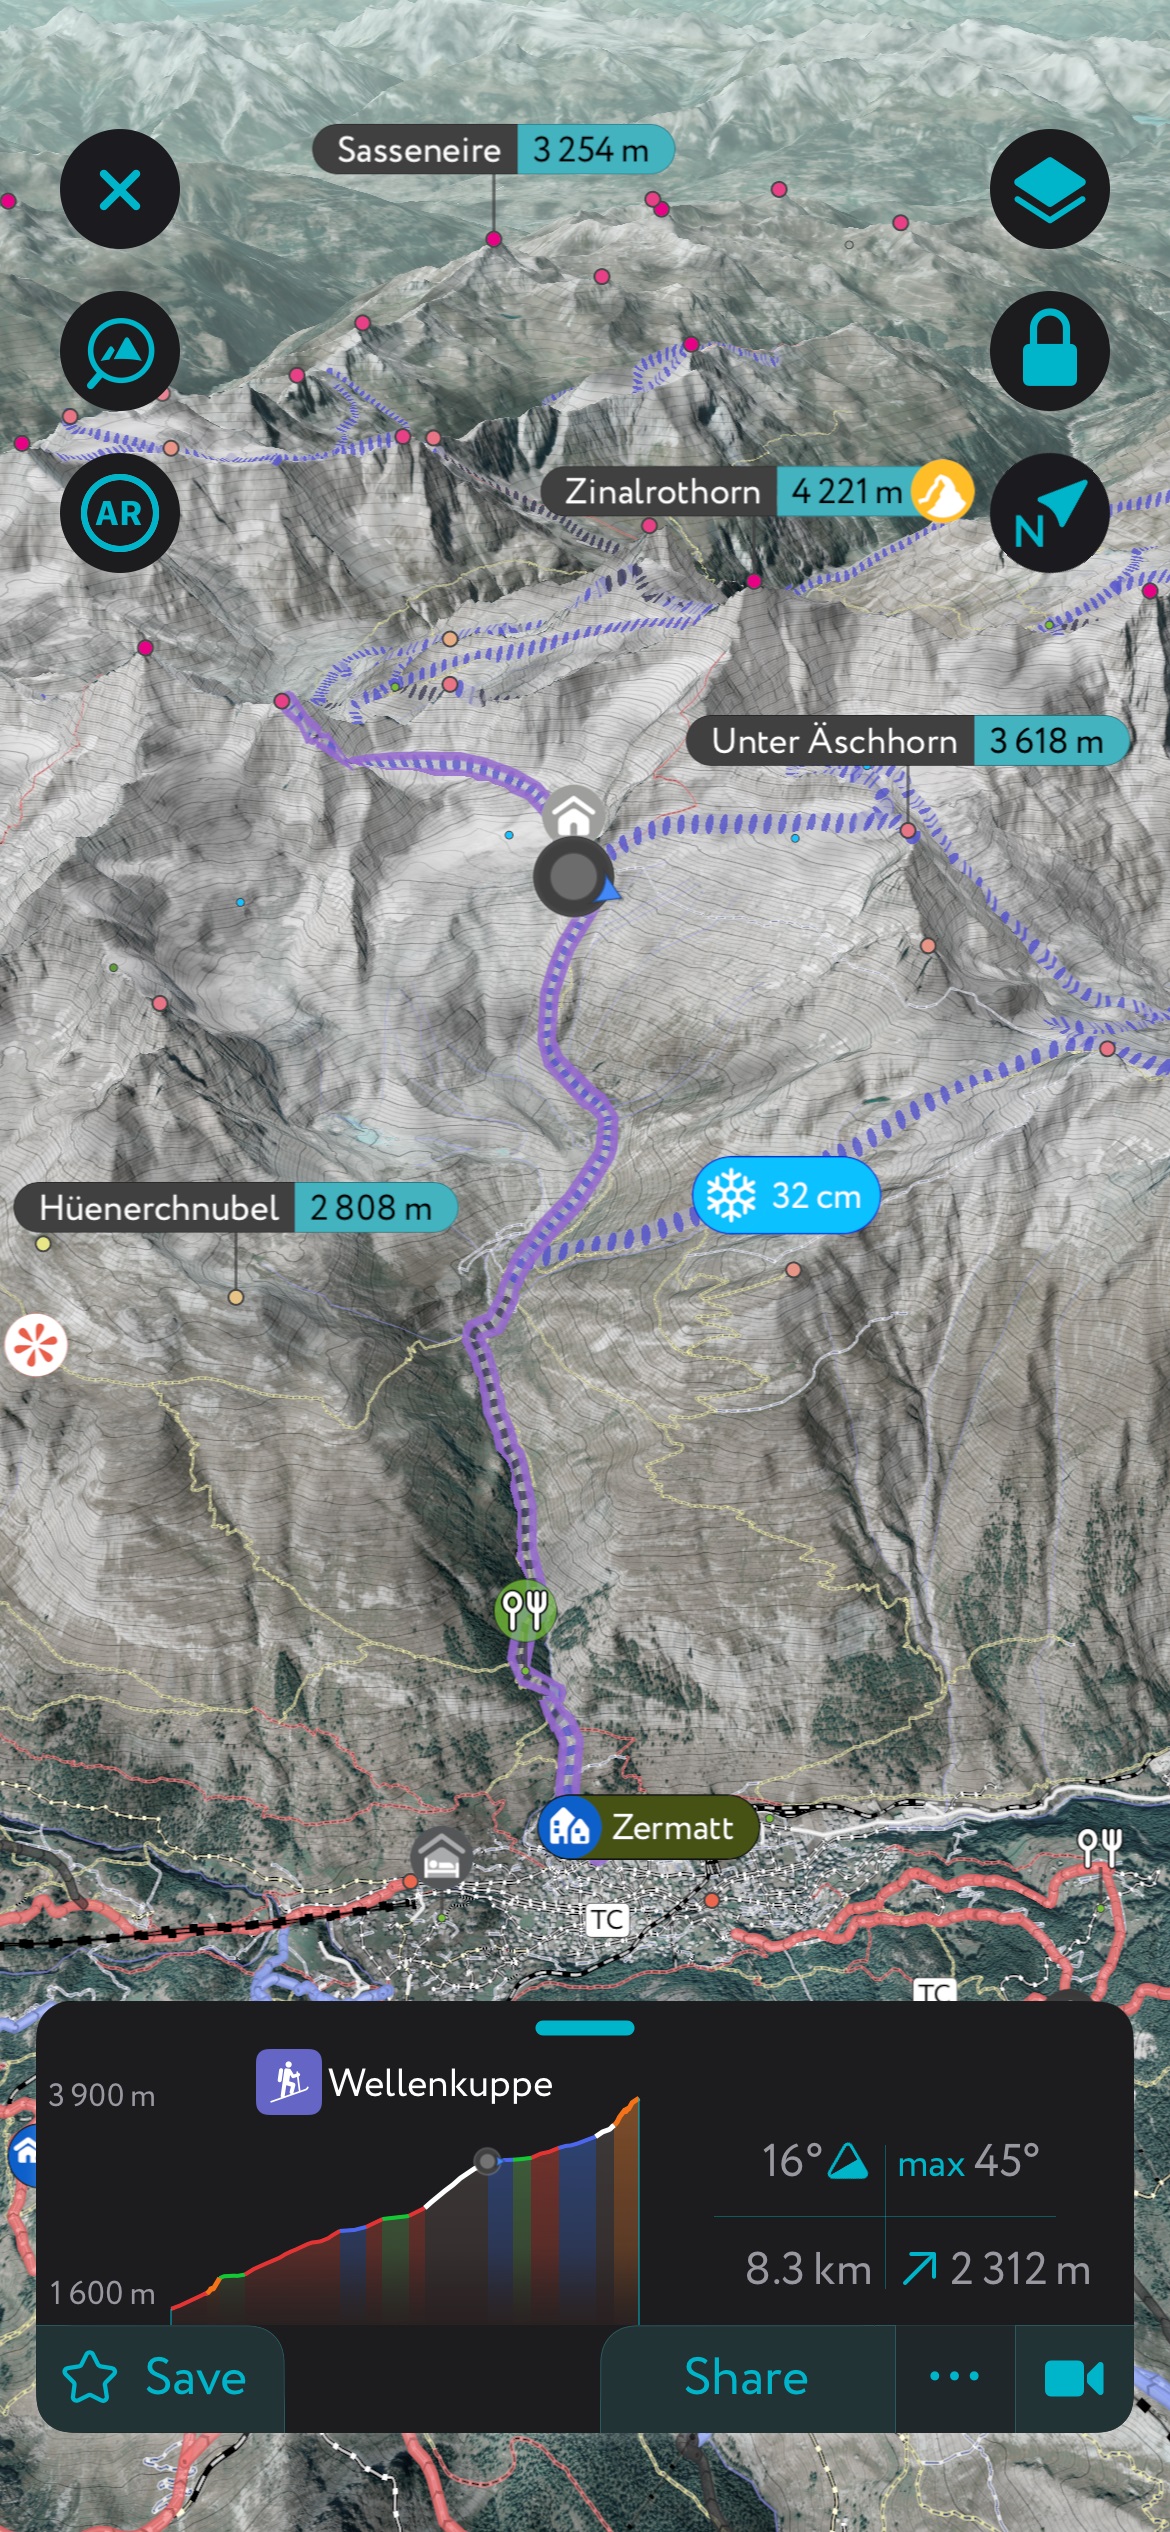
- The route finder feature generates a route for any location on the map. You can tap on the route to view it in more detail, including max and average slope angle, length, and elevation gain.
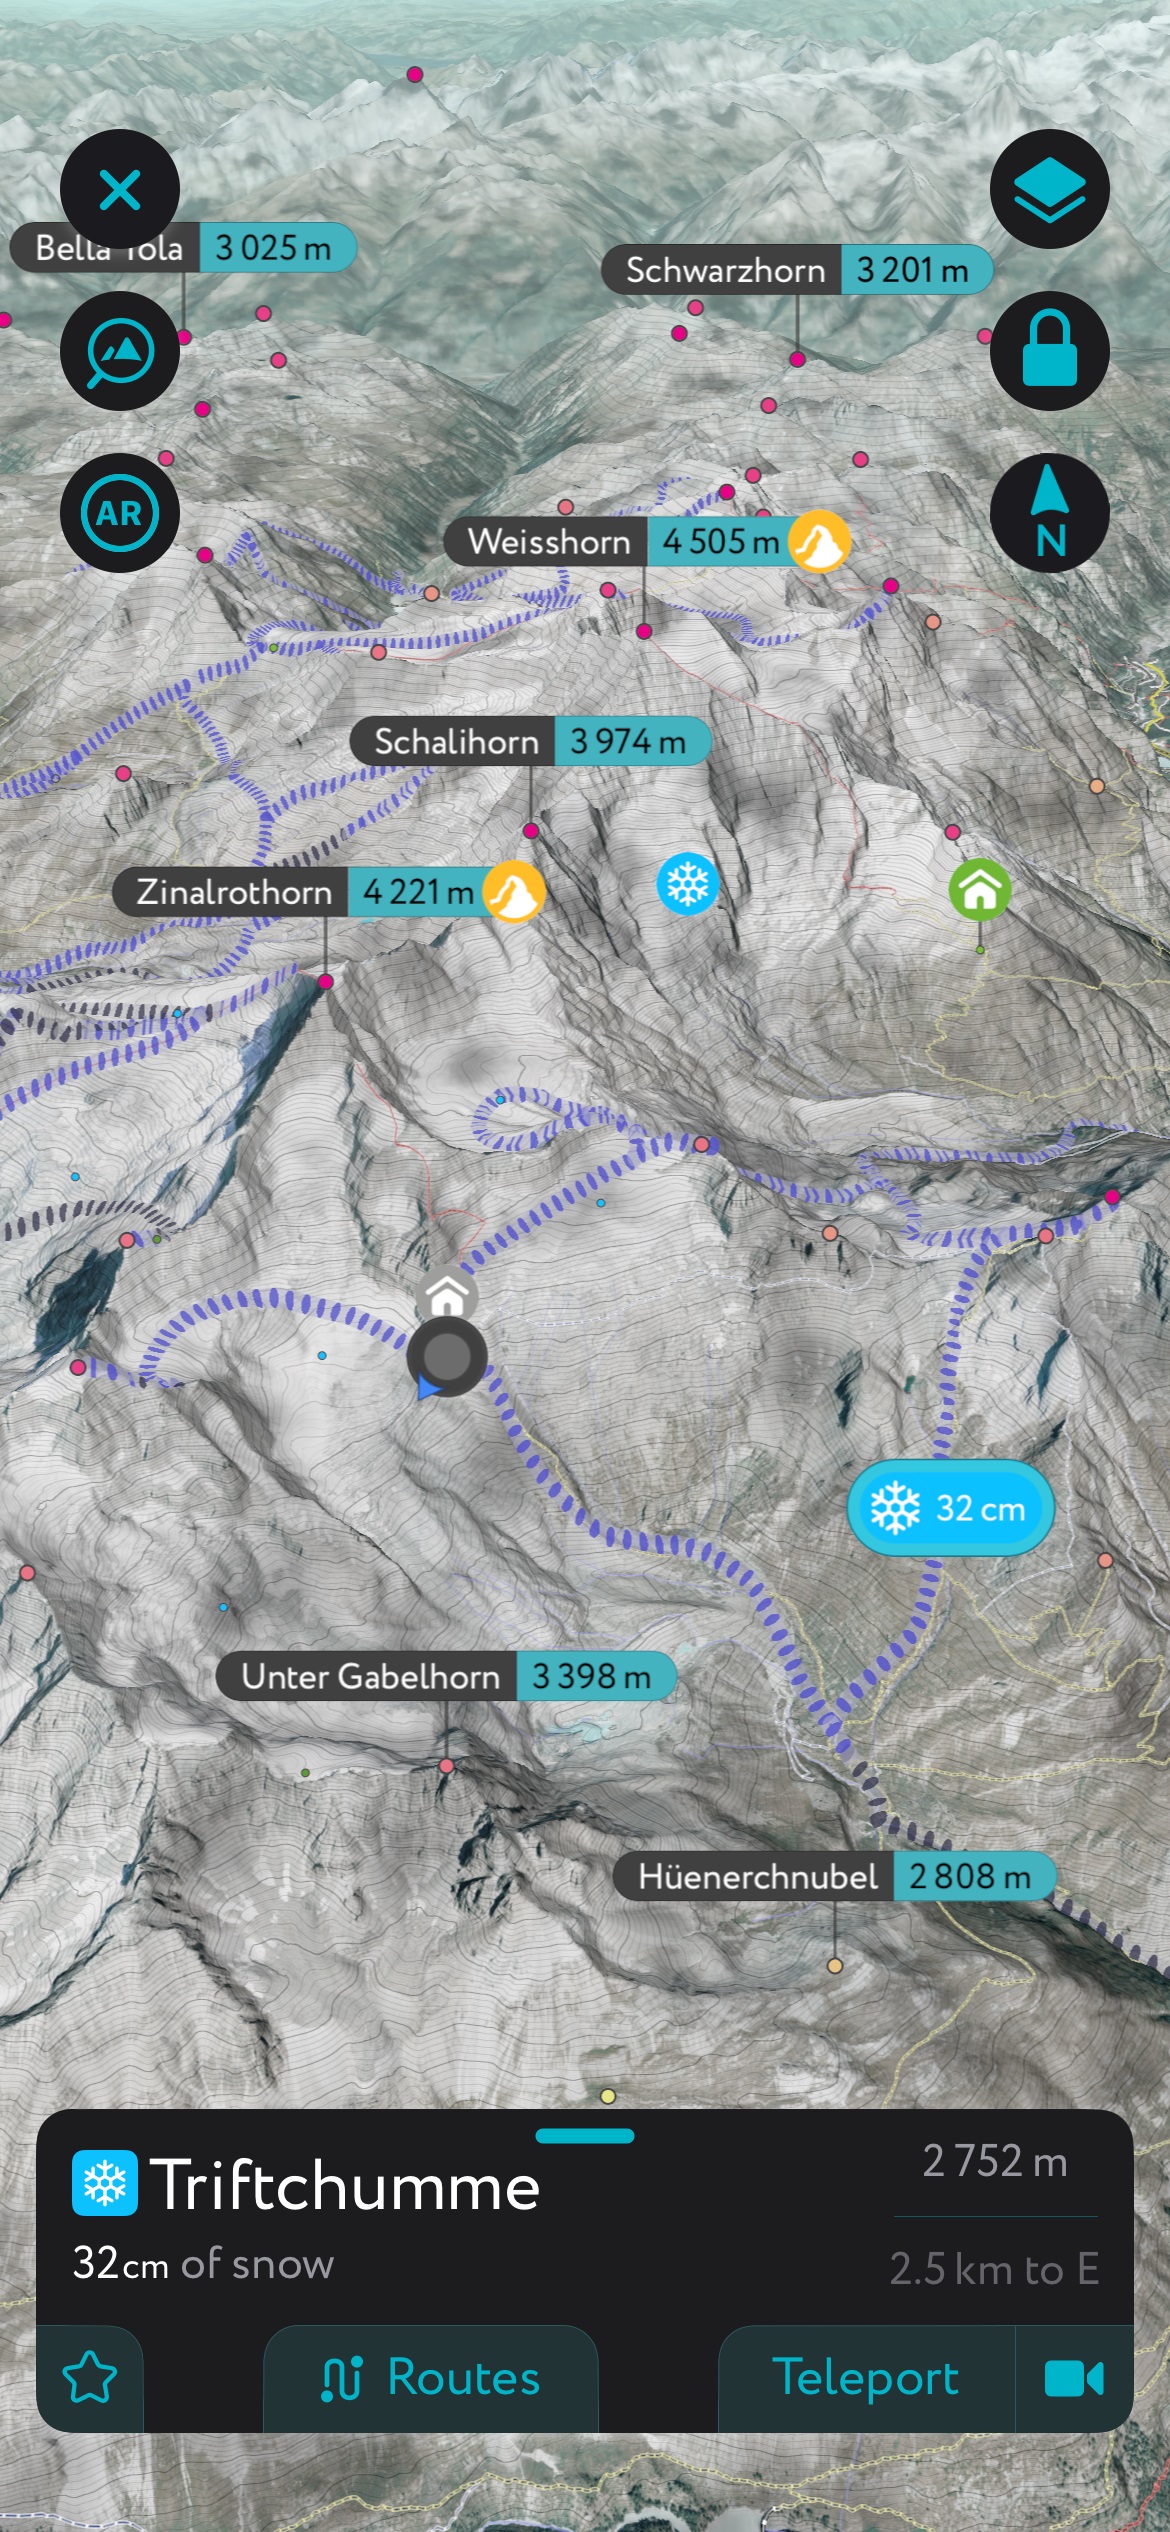
- Up-to-date snow depth readings from weather stations around the world.
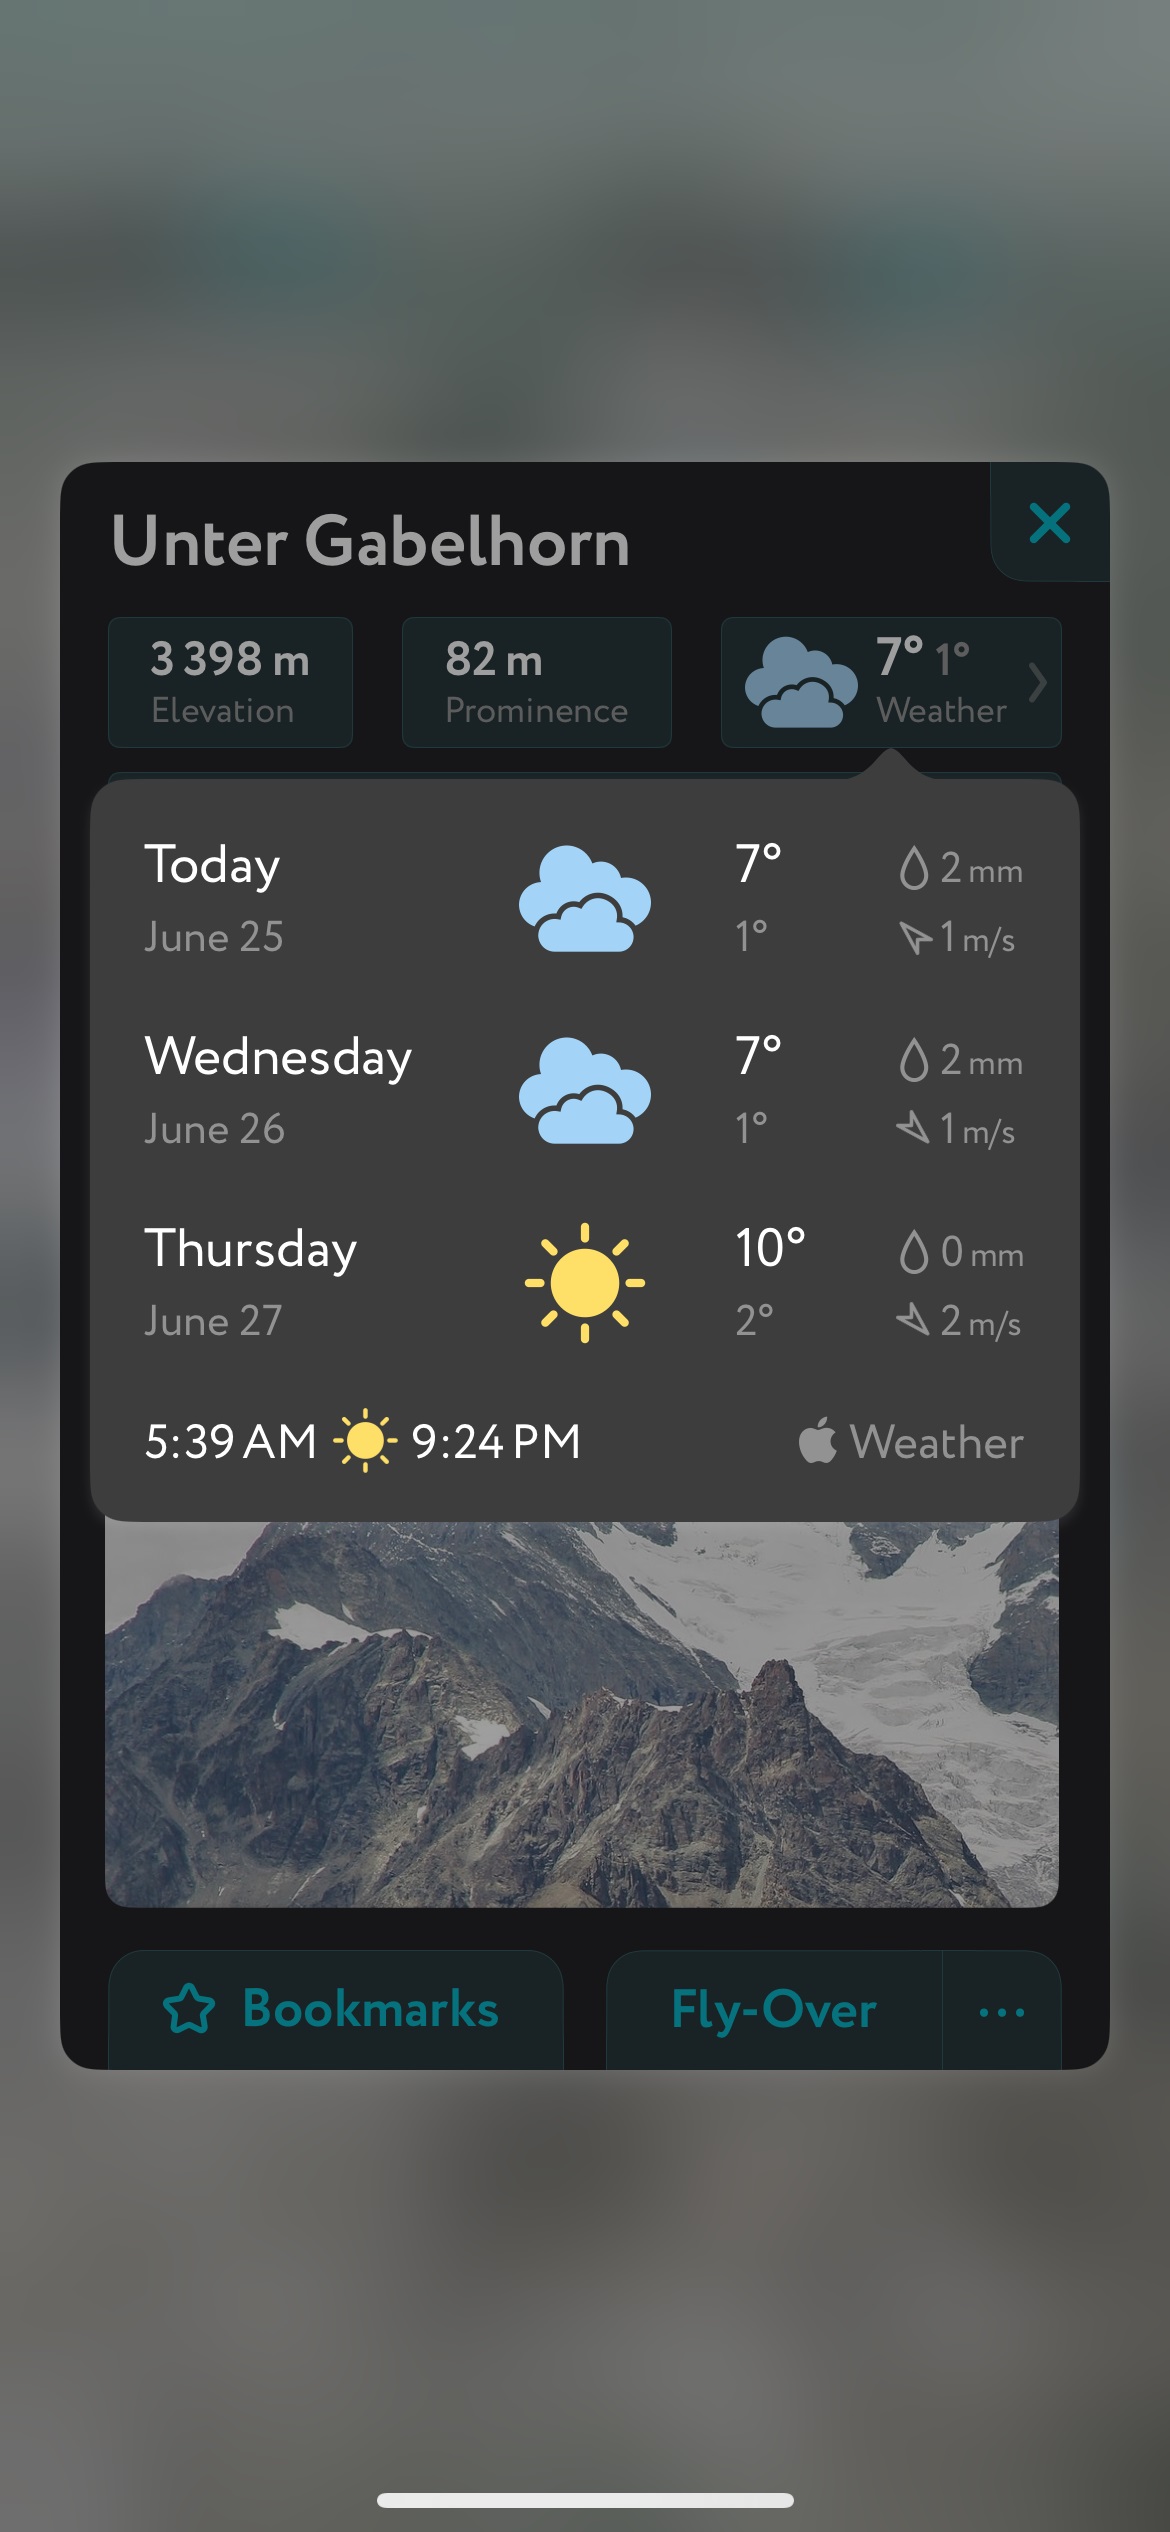
- A point weather forecast for any tap-able location on the map, tailored to the exact GPS location to account for local variations in elevation, aspect, etc., that are standard in the mountains.
- You can use our Ski Touring Map on your desktop to create GPX files for routes to follow later in the app.