Being passionate landscape photographers and outdoors enthusiasts, we always crave for adventures in the mountains. PeakVisor was born in an attempt to make our high-altitude travels more filled with emotions and epic photos. Desire to better understand what we were looking at led to the core feature - PeakVisor mountain identification.
But as soon as we figured out all the peaks around us it was completely natural to ponder about available hiking trails, mirror-like lakes, and the best spots to capture all that beauty. So, we introduced the 3D maps with hiking trails, lakes, and viewpoints.
Every weekend we set out for a mountain adventure and thoroughly test all the features PeakVisor has to offer. Recently, we have returned from such an adventure in the Dolomites. We are full of improvement ideas, bug reports, and hike planning best practices to share.
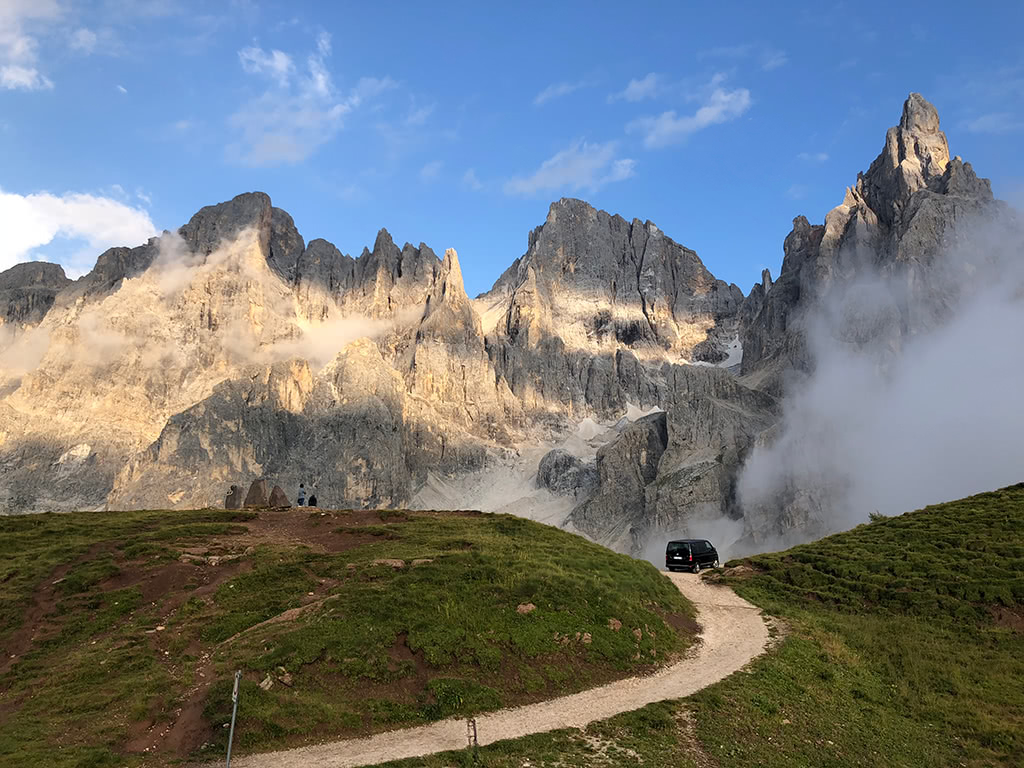
In this article, we will go through the PeakVisor’s features which allow you to do the most important things in hike planning.
- Area scouting - evaluate hiking opportunities and find picturesque spots
- Route planning - understand the schedule and effort required better
- Trail navigation - track your progress along the way
Area Scouting
Whenever you happen or plan to be in a new place surrounded by gorgeous mountains, it is interesting to know what mountains are around you and what the most spectacular hikes are. PeakVisor 3D map comes especially handy in this case. You can hover above the area and see all the hiking trails and walking pathways.
Using the 3D map, you can quickly grasp the nearest high points reachable via the hiking trails network. This way we always scout for photo opportunities at sunrise and sunset. Searching for a lake, not very far from a parking area, with a nice composition of mountains peaks has never been easier. Yet, you still have to be very lucky with the light and the clouds.
Area Scouting Best Practice
Our recommended approach to scouting is the following.
- Start with a particular location nearby or at a teleported area you are considering as your destination. See the trails going from there and using the 3D map try to filter the most promising spots: viewpoints, mountain summits and passes, even custom locations.
- Use “Route To” button to consider the effort required to reach the places. Filter out those too far, and those too exhausting to reach.
- Evaluate scenic beauty of the destinations using the Teleport feature. You can even simulate the photos from there.
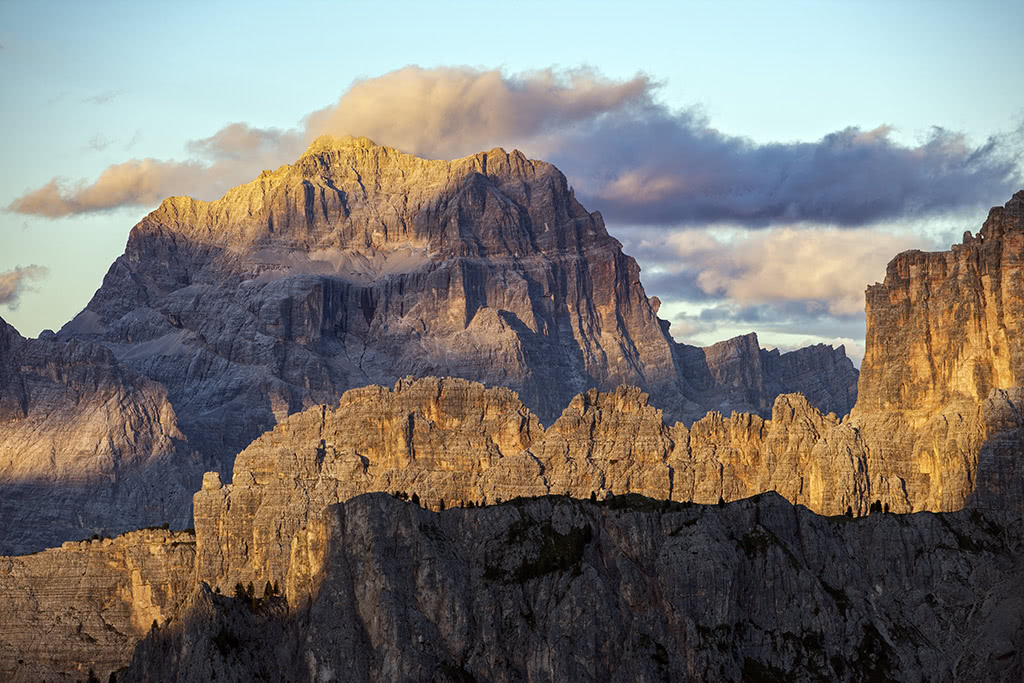
Here is a sample from our recent tour to the Dolomites. Passo Giau is one of the most scenic areas in the Alps which we were lucky to visit several times.
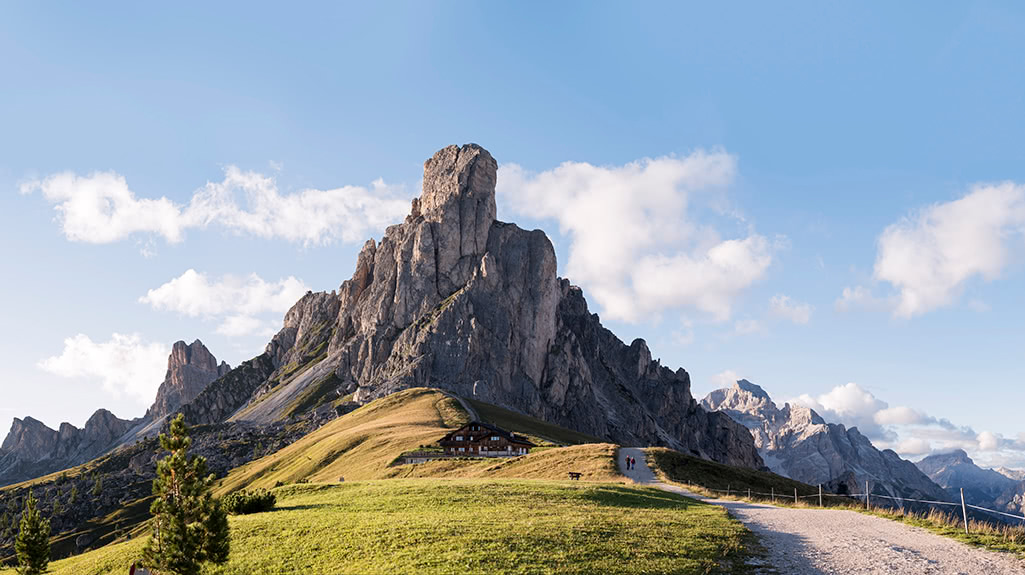
Our task was to find the best photo opportunities for the quickly approaching sunset despite a risky weather forecast. We teleported to the top of La Gusela which is reachable only for hardcore climbers and those with the PeakVisor teleport. Having had a look around, we teleported to Rifugio Passo Giau which is next to the parking area at the top of the pass and would be our starting point.
There are several peaks not far from Passo Giau. Among the nearest to the pass and reachable via a trail are Col Piombin, Monte Verdal, Monte Cernera, Piz del Corvo, and Monte Mondeval.
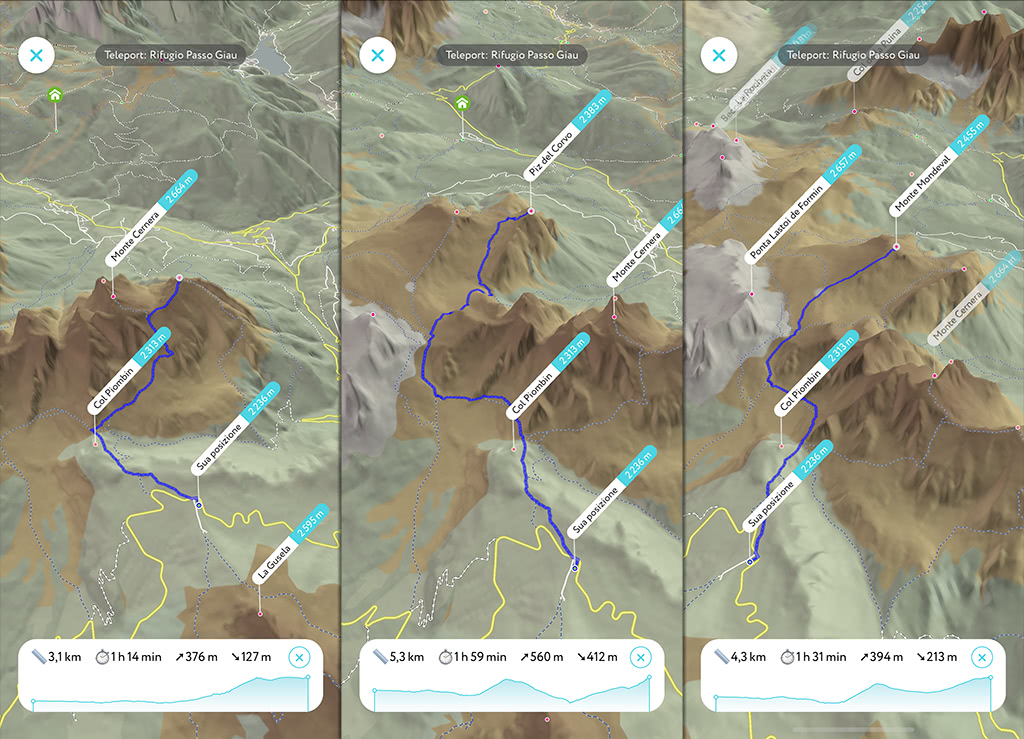
Having estimated some summits hopping and the potential views from the top, we clearly realized that Col Piombin and Monte Verdal were among the leaders in terms of potential scenic sunset per trekking effort. The effort was especially important as we had to return to the car after the sunset almost in total darkness.
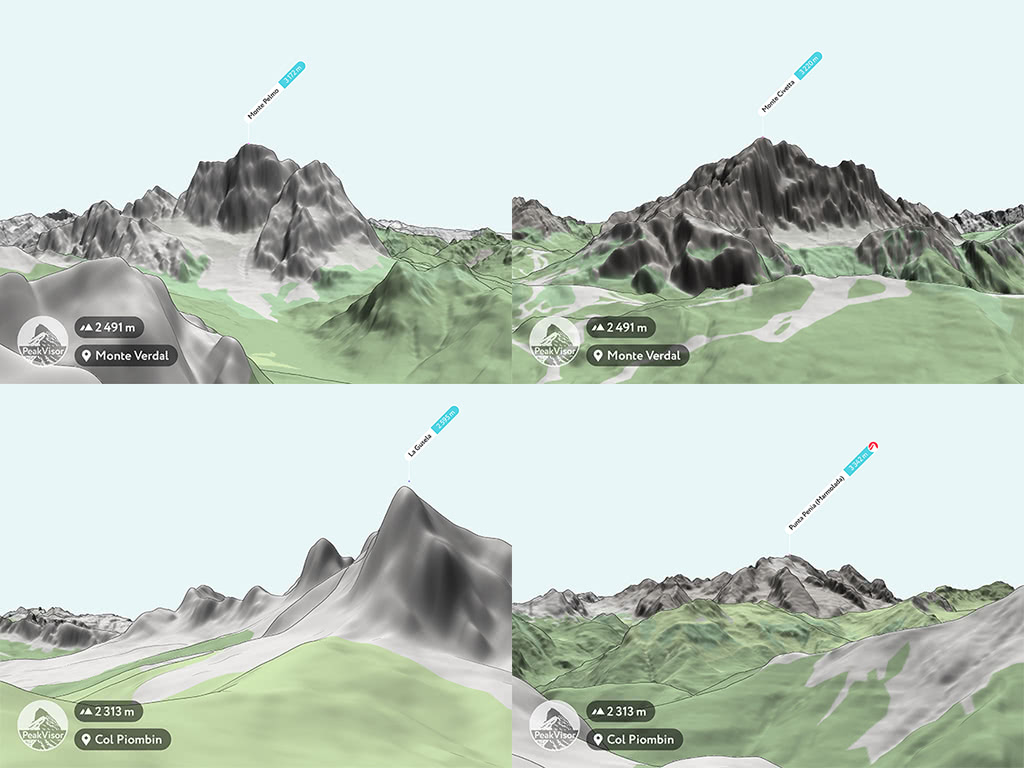
In the end, we chose Col Piombin as the nearest one to try first and it worked out great!
Route Planning
In PeakVisor you can plan routes between locations. By default, the app calculates a trail from your current location, so you just need to choose the place where you want to go. That’s why we usually teleport to a parking place or a mountain hut where we plan to start the hike. After that, you can choose a destination by tapping on any peak, mountain hut, viewpoint, and then the “Route to” button. You can also route to a totally random location, just long tap on any place in the 3D map and it will put a marker there!
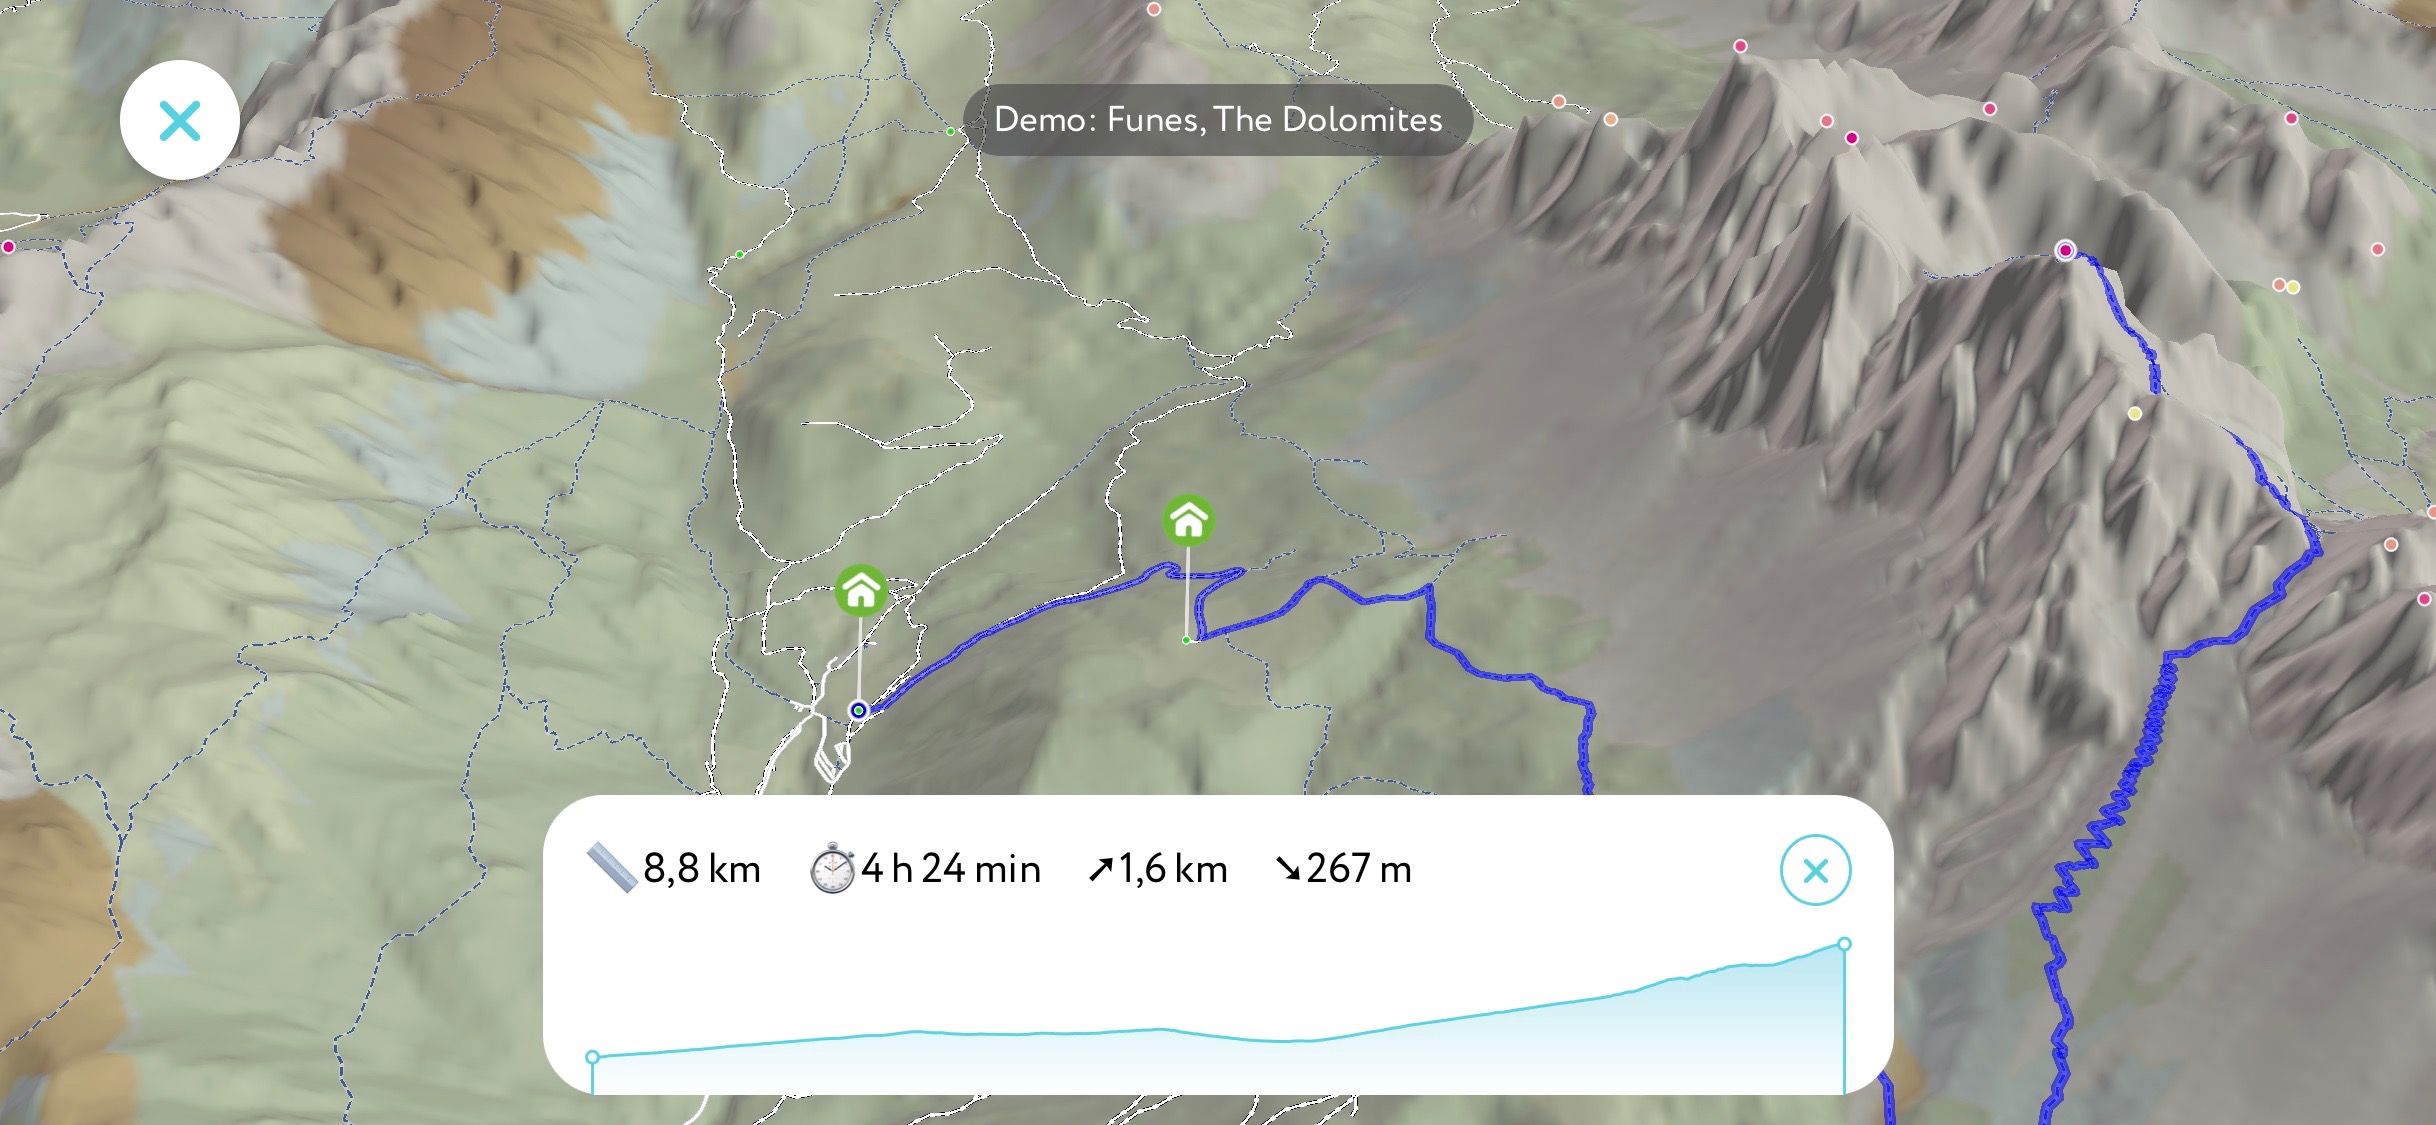
Here is a hiking zig zag trail to the summit of Sass Rigais in the Dolomites. The trail is slightly less than a mile (1.6km) of elevation gain, it is a round trip of about 10 miles (17.6km) covered in 4.5 hours. It should be a spectacular day hike! The altitude profile demonstrates that more than a half is like a walk in a park and towards the end the real ascend begins.
All these data allow you to make a well-considered decision about the effort required, your approximate schedule, and whether the route matches your experience and skills.
By the way, we have updated our tutorial, so you can read everything in detail about the app features and become a PeakVisor competent user! That’s it for now, please, say “Hi” at peakvisor@routes.tips and let us know what you think about the app!
